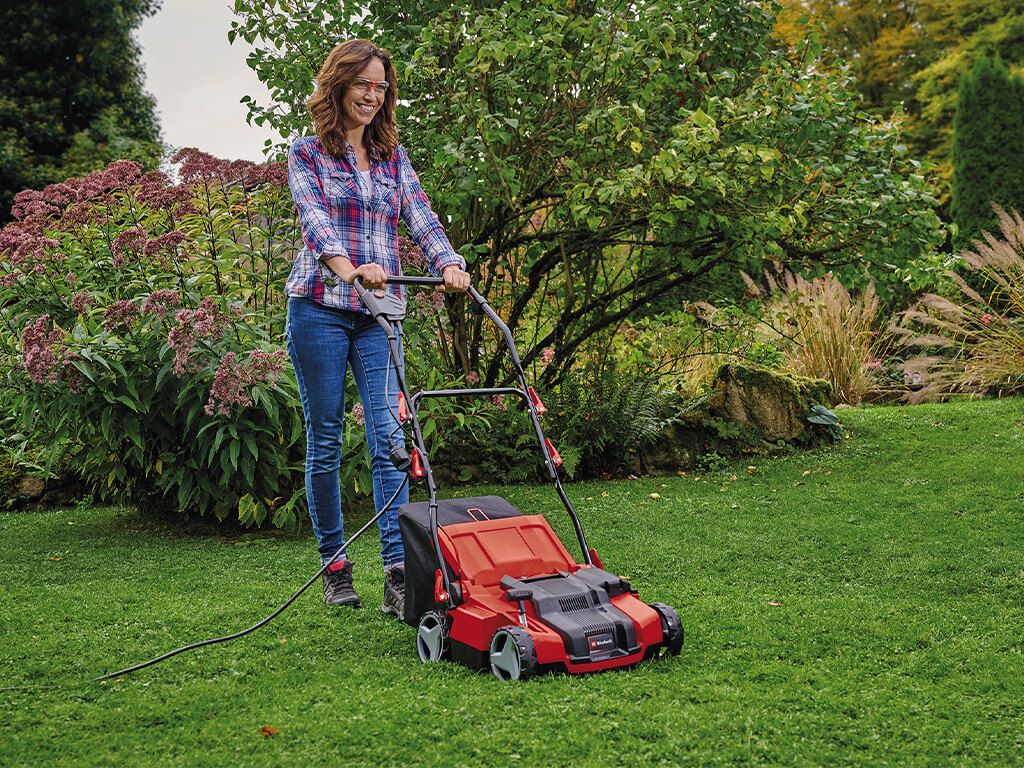
Scarify the lawn correctly
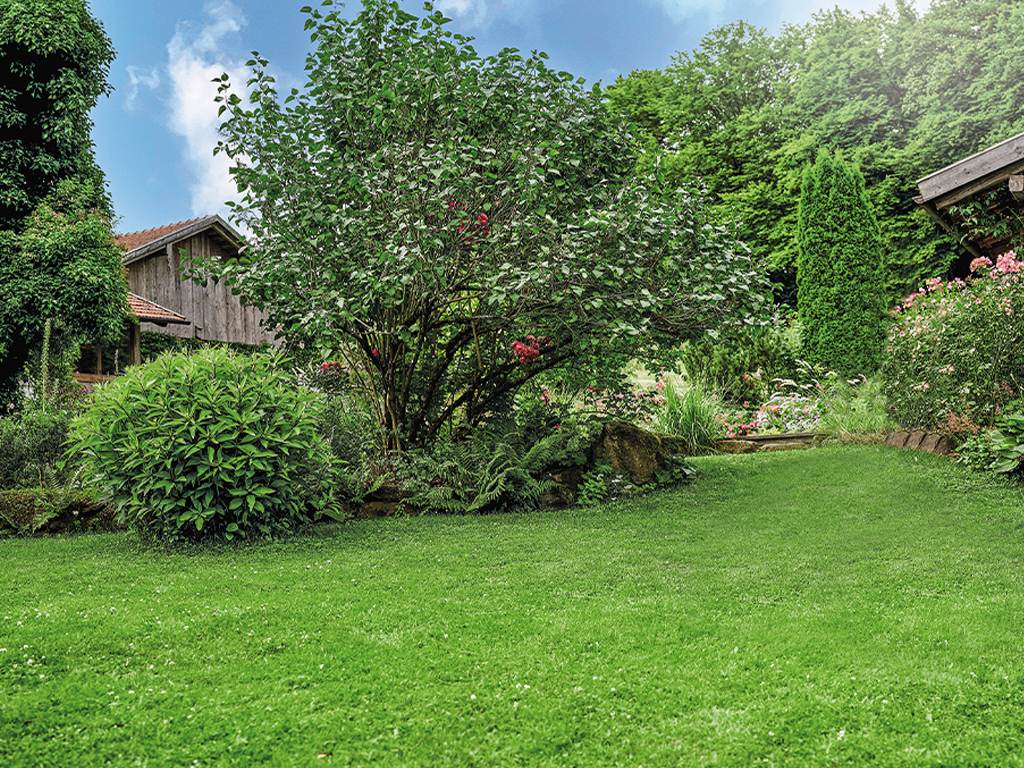
Lawn is the central element in most gardens. In order for it to be lush green, dense, hardwearing and resistant, you need optimal lawn care. This includes scarifying, which gives your lawn the proverbial air to breathe and removes moss, lawn thatch and old plant debris. We have compiled the best tips and tricks as well as practical instructions for scarifying for you in this blog post.
What is scarifying?
Scarifying means scoring the soil about three millimeters or deeper with a scarifier. This is also the difference to aerification, because aerification only loosens the soil, i.e. aerates the lawn roots. Scarifying in turn ensures that the lawn plants are aerated. Cut grass that the lawn mower does not pick up and moss can matt the lawn over time. This lawn felt takes the space, light and nutrients that the grass plants need to survive. That is why this felt has to be removed regularly - preferably in spring and autumn. The main purpose of scarifying is to stimulate lawn growth and to keep the lawn healthy.
Difference: aerating vs. scarifying
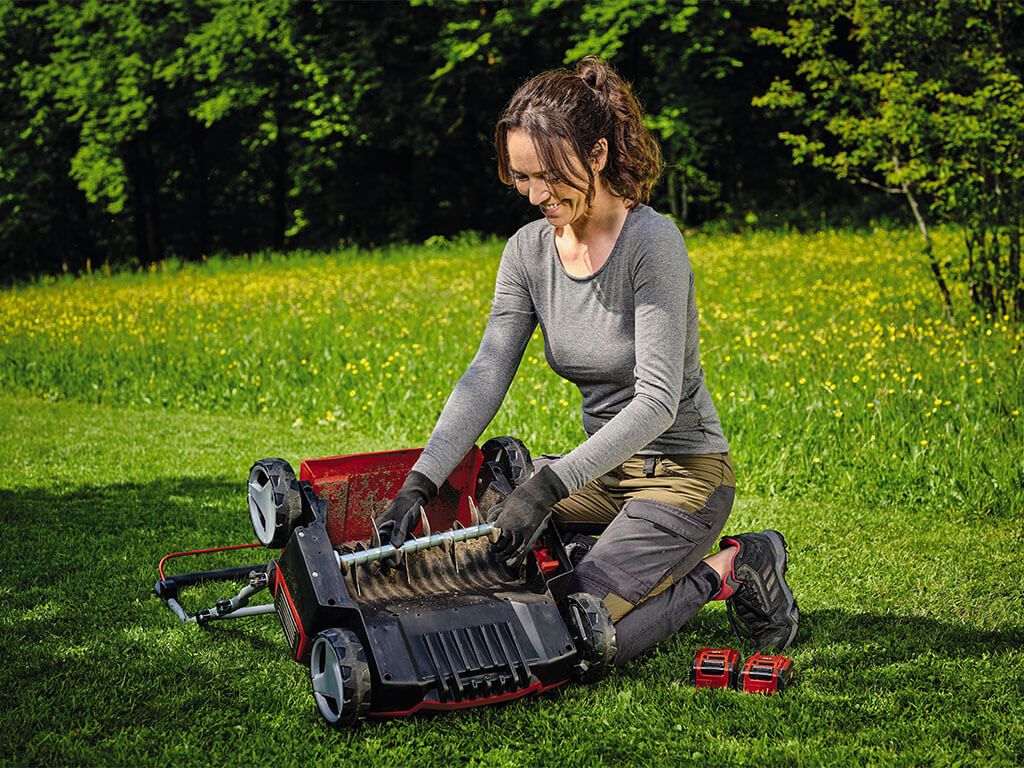
In our assortment you will find mainly scarifier models, which are called "scarifier aerator". These devices serve two purposes at once, because with them you can not only scarify your lawn, but also aerate it, which is also called "aerification" in technical terminology. While the operation of the garden tool is the same, the purpose and requirements differ. Scarification uses a scarifying drum to remove moss and lawn thatch. For aerification, or aeration of the lawn, the roller of the device is changed. The aerator roller works its way into the turf with claws, drilling small holes in it. Through these, the lawn roots can better absorb water, oxygen and nutrients again. So it quickly becomes clear why the lawn needs a "recovery break" after scarifying, while the aeration is virtually a small "refreshment cure" for in between.
How do I know that I need to scarify my lawn?
You can tell whether your lawn should be scarified using various clues. The simplest test works as follows: Drag a small metal rake or a cultivator loosely through the grass. If mowing residues and moss cushions loosen, it is time to use the scarifier. It is essential to remove lawn thatch because it inhibits the uptake of water and fertiliser as well as the air exchange of the grass plants. Therefore, strong weed growth also indicates that your lawn should be scarified, because weeds are better able to cope with the lack of nutrients caused by lawn thatch than grass roots.
When should I scarify the lawn?
Scarifying is generally possible from March to October. It is crucial that the daily temperature is between 15 and 20 ° C, which is usually the case in spring and autumn. Scarifying should be avoided in summer, when the lawn is used intensively and gets a lot of heat - and in winter, when the ground is frozen.
- By the way: New, or young lawns should be spared at first. So that the grass roots can grow robustly, you should scarify the lawn after two years at the earliest, and ideally after about three years.
Scarify in spring
In spring, the period between early March and late May is optimal. If you want to use your lawn intensively in the summer months, you should especially take care of the maintenance measures in spring. This means that your green has a few weeks of rest after the treatment - ideally three weeks. The earlier you scarify, the better - if the temperatures allow it. However, the past few years have shown that you should not wait too long with scarifying. May is often very warm and dry, that is why additional irrigation is necessary so that the sward closes quickly. There are two different strategies for scarifying in spring:
- Strategy 1: Start lawn care directly with scarifying before the first mowing and before the lawn really starts to grow. The prerequisite for this is that the lawn was regularly mowed in autumn. After scarifying, you should fertilize the lawn. One to two weeks later you can mow the grass to normal height.
- Strategy 2: Start lawn care with fertilizing. Then mow your lawn to normal height. As soon as the lawn is mown for the second time - about 2 weeks later - it is the right time to scarify.
Scarify in autumn
For the second time of the year, you should scarify - if necessary - in early autumn in the period from mid-September to mid-October. The rule of thumb for the temperature is: it may be warm, but no longer hot. The second pass with the scarifier serves to remove moss, weeds and lawn felt, thus preparing the lawn for winter. You should choose the time of lawn care, here, too, so that the lawn still has about three weeks to recover from the exertions before winter rest.
Which scarifier is the right one?
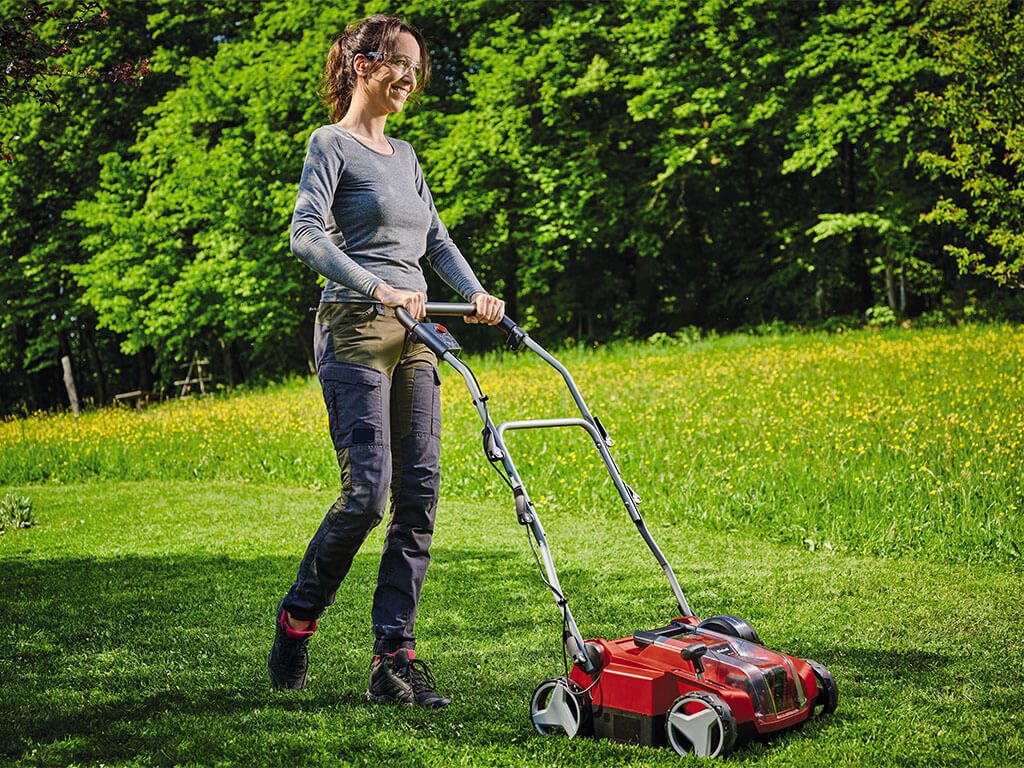
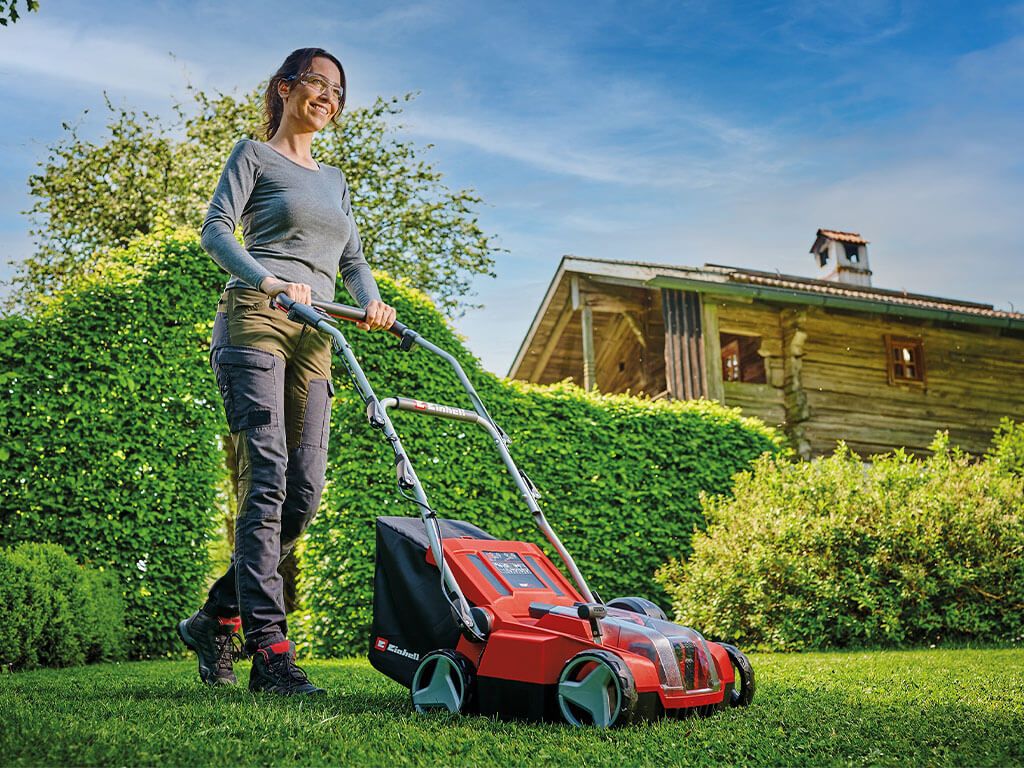
Scarifiers differ in principle only in the drive. There are petrol scarifiers, cordless scarifiers and wired electric scarifiers. Regardless of this, the principle of operation is the same for all scarifiers: Surrounded by a housing made of metal or plastic, a spindle rotates, on which rigid or rotatable knives are arranged at short intervals. The knives cut the turf about two to three millimeters deep, removing dead material, moss and lawn felt. In this way, it helps the grasses and roots to a better air and light supply. Excess water can run off unhindered again. As a rule, scarifiers eject the removed lawn debris to the rear or collect it in a catcher box, depending on the scarifier model and scope of delivery.
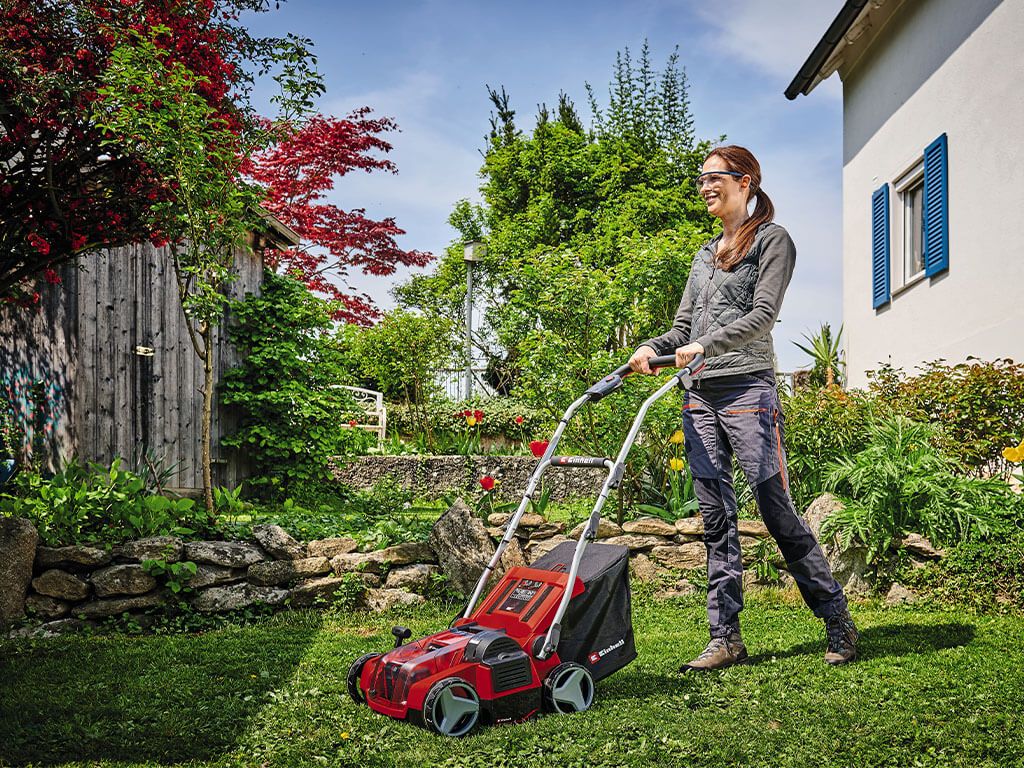
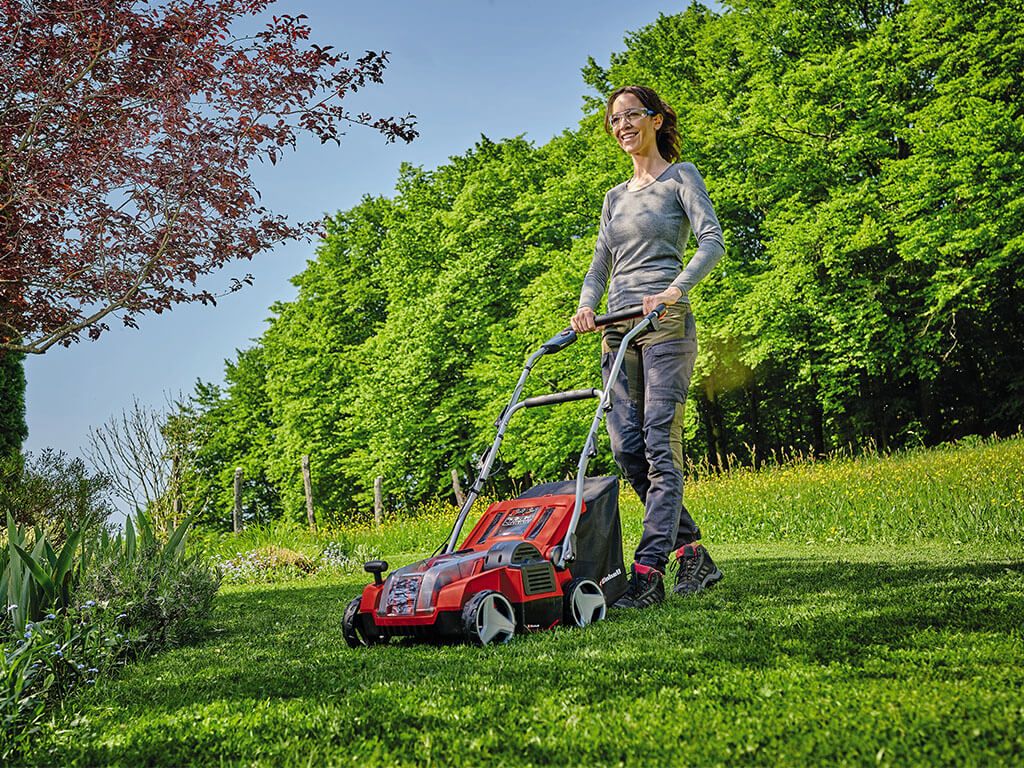
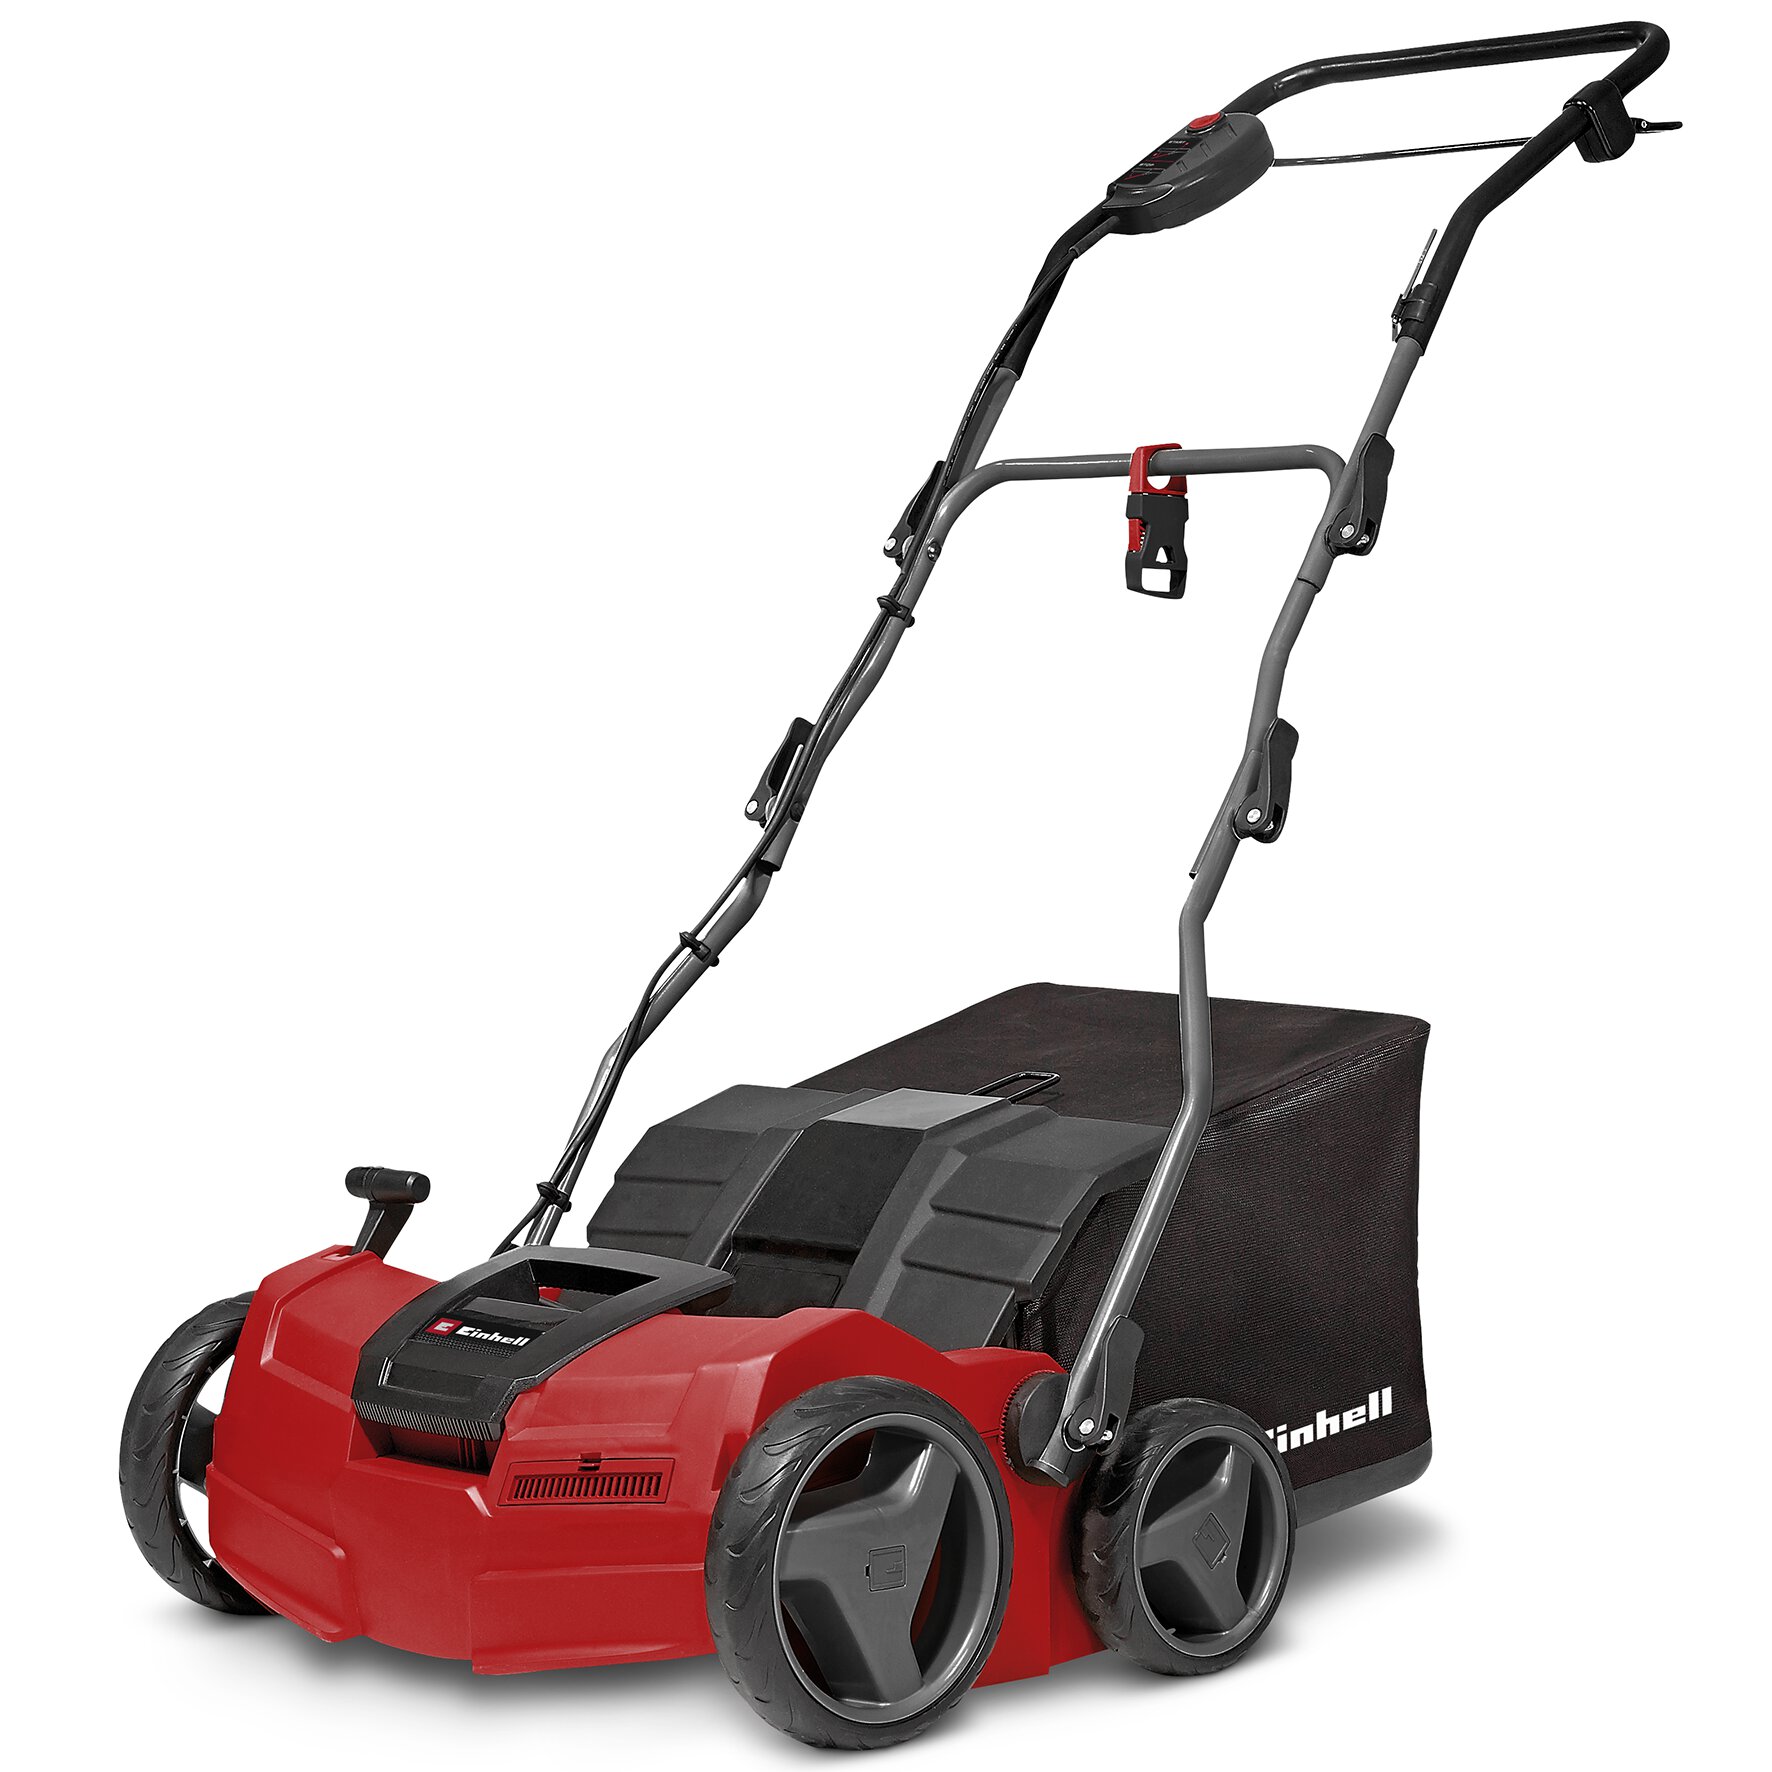
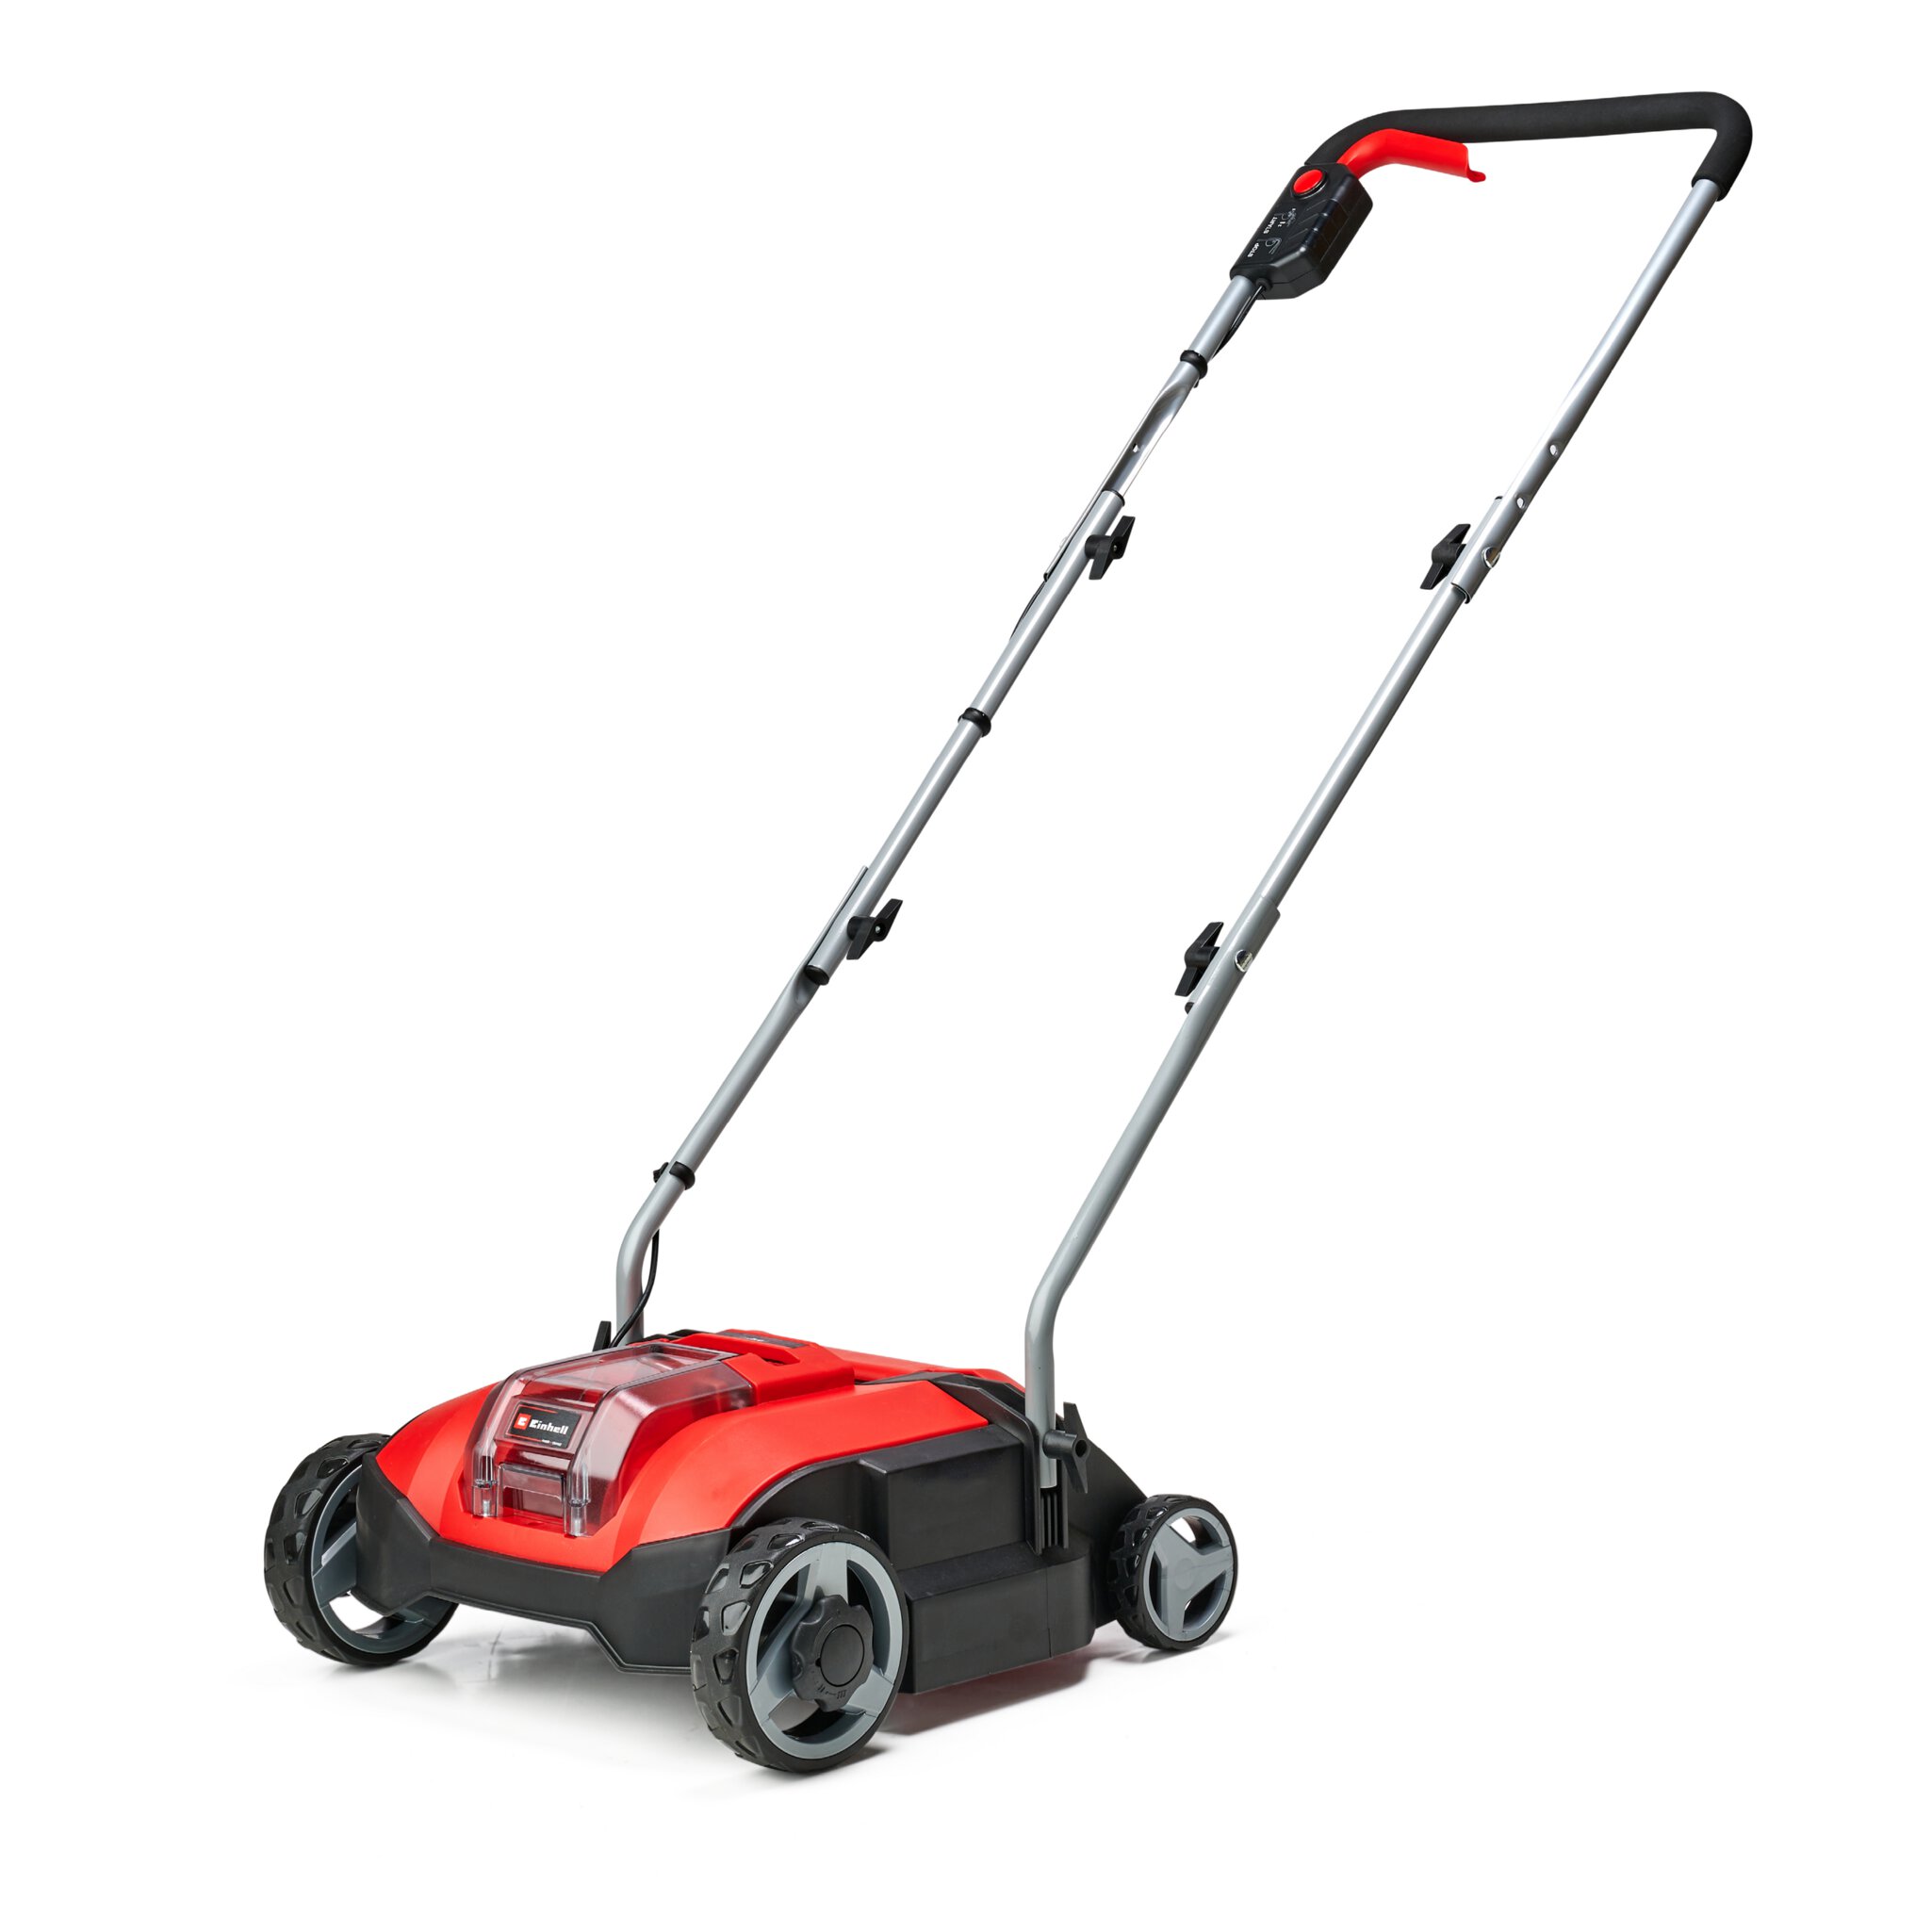
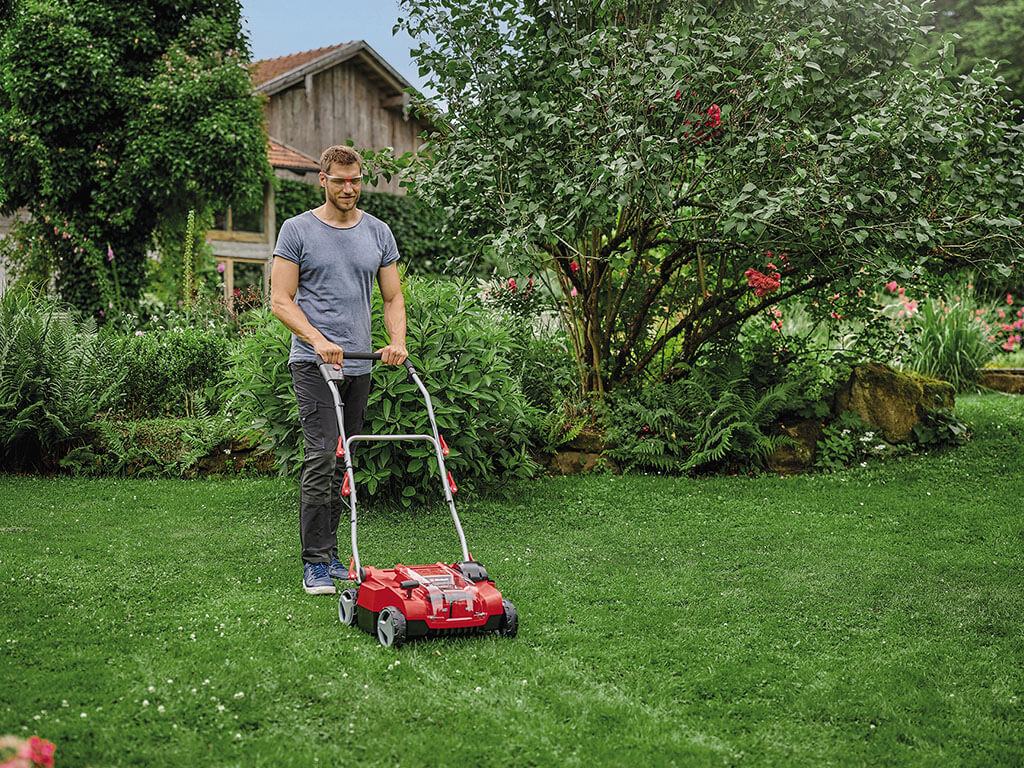
Electric and cordless scarifier for smaller areas
The performance of electric and cordless scarifiers is generally sufficient for the home garden. You have to decide for yourself whether you are bothered by the power cable of an electric scarifier. If so, you can simply opt for the cordless scarifier as an alternative. This promises cordless freedom and, with the right battery pack, also similar performance to a petrol-powered device. Wired or with a battery - both versions impress with a lower noise level than the petrol scarifier.
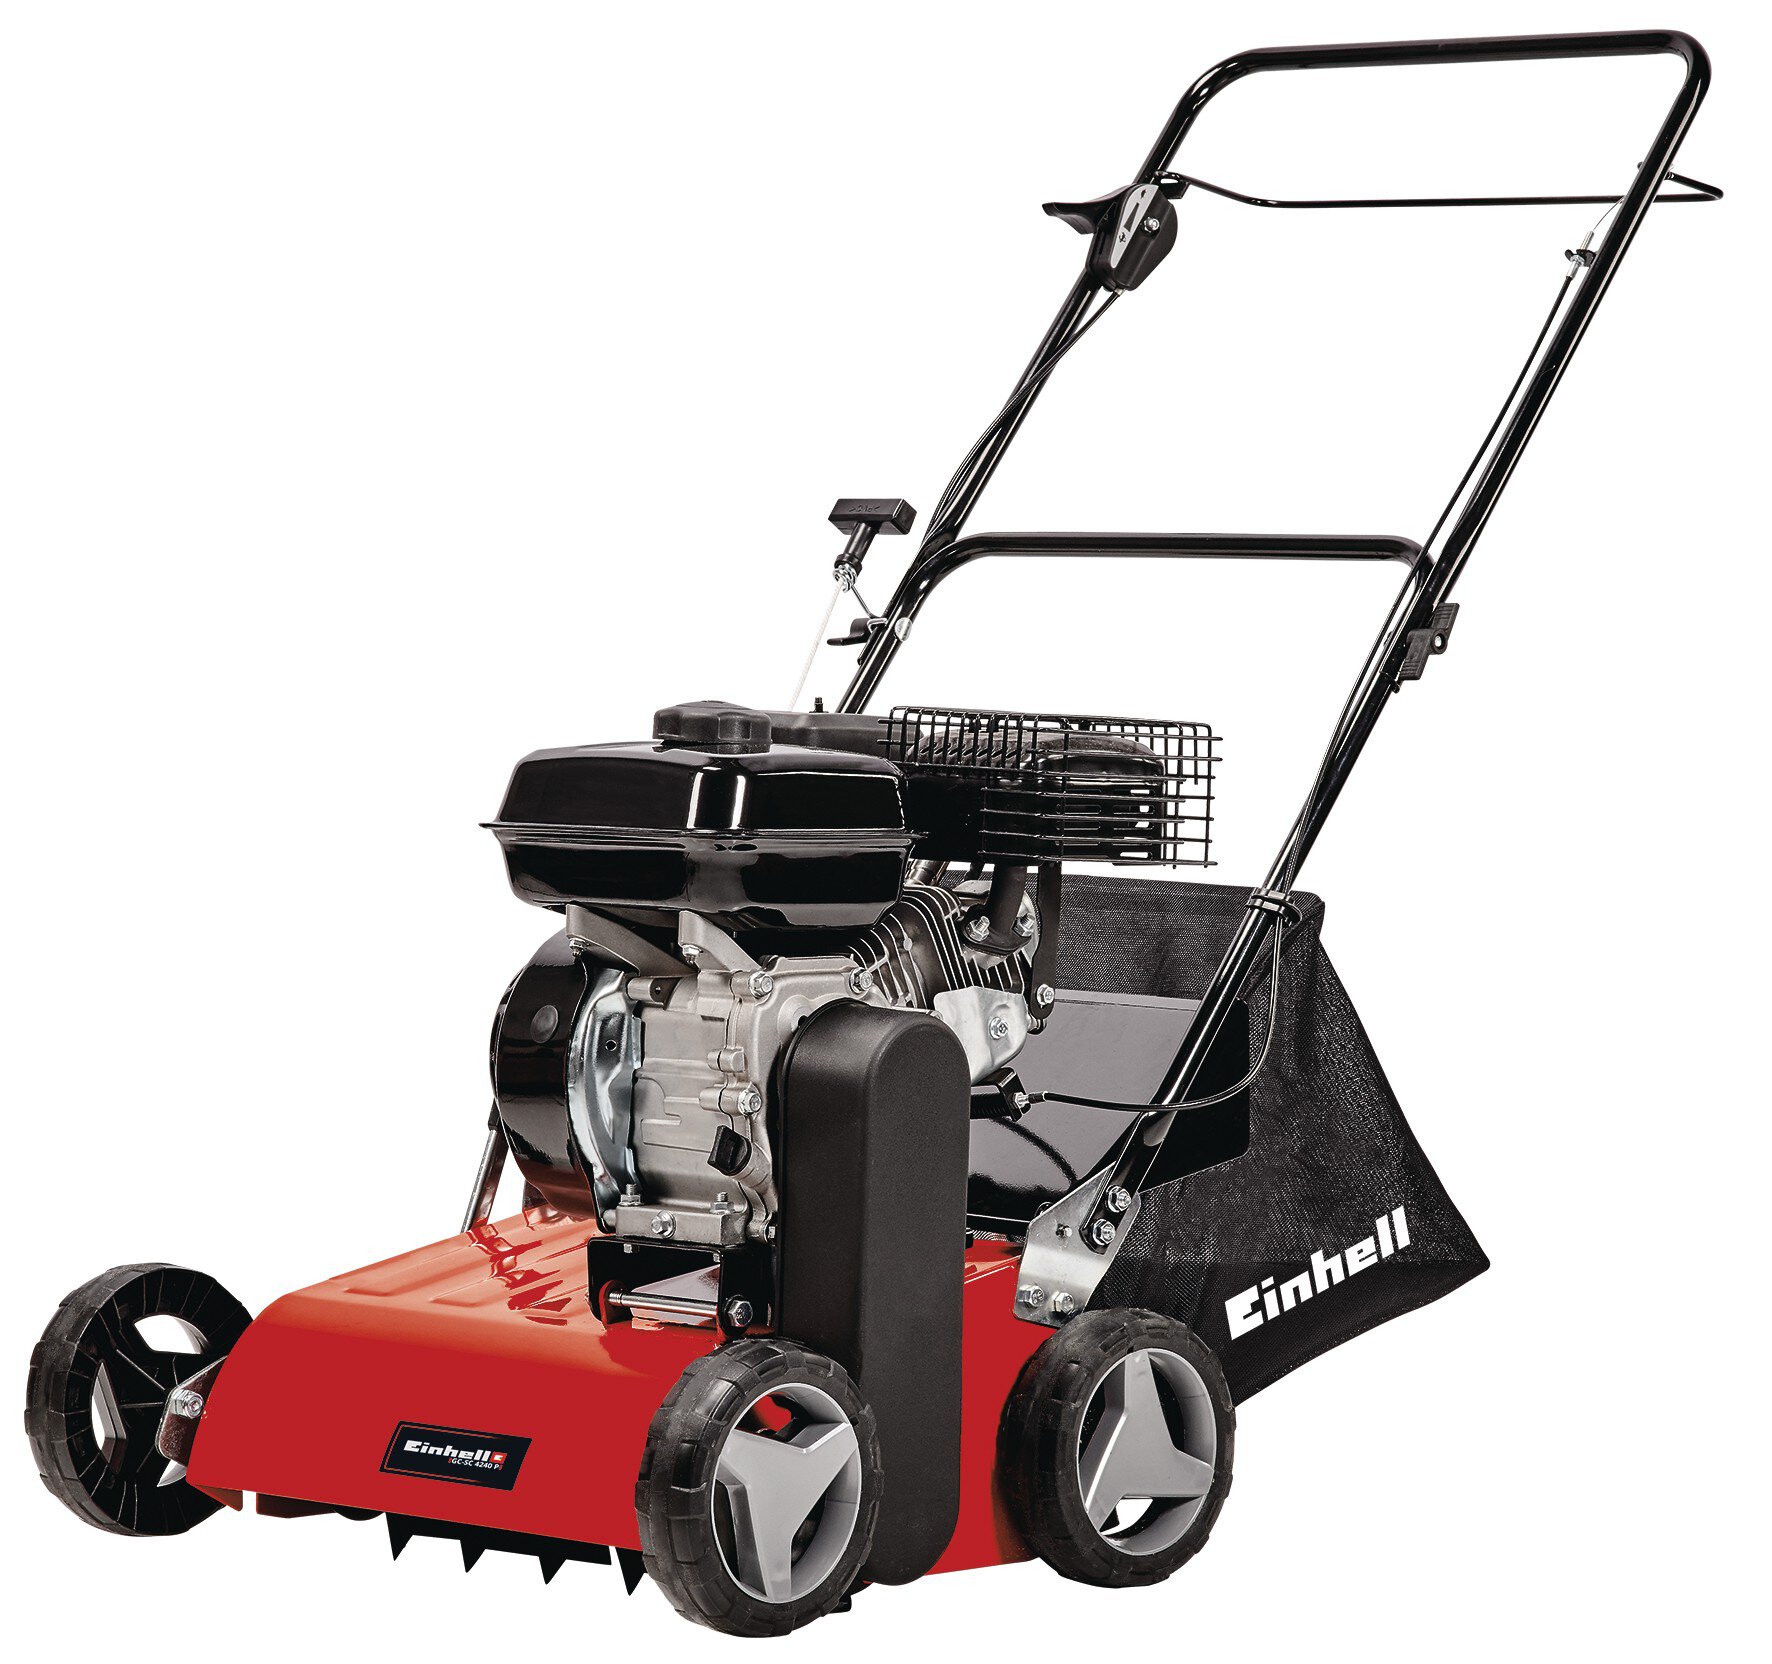
Petrol scarifier for larger areas
Petrol scarifiers are particularly recommended for large areas: they have no battery that needs to be charged and no cable that limits the radius of use and can be tripped over. They can work as long as the tank is filled with petrol. Another advantage of the petrol engine: it is heavy. This means that the petrol scarifier also has the necessary weight to push the knives deep enough into the turf. As a rule of thumb, petrol scarifiers are also more powerful than electric scarifiers. This is particularly advantageous on very dry soils, where they easily reach into the hard soil.
Step-by-step guide - How to scarify properly:
The right preparation
To avoid unnecessary damage, make sure the lawn is in the right condition before scarifying:
- Only scarify when the lawn is dry. If the soil is too wet, the scarifier may also tear out healthy lawn plants.
- Mow the lawn to a height of two centimeters just before scarifying - this is usually the lowest setting of the lawnmower.
- Before moving on the scarifier, you should remove larger stones from the lawn. Otherwise these could be thrown up by the rotating roller of the scarifier and hit the device or in the worst case, you.
The procedure for scarifying
- Working depth: First set the working depth correctly: The right depth for scarifying depends on the nature of the soil and the degree of matting of your lawn. A working depth of about 3 mm is optimal for the lawn, so that you do not put too much stress on the grass roots. For heavy soils, e.g. clay or heavily used, compacted soils, you can also set a greater working depth of 6 or 9 mm.
- Movement pattern: Move the device first lengthways and then across the surface, to that a fine checkerboard pattern is gradually created. Make sure that you move the device quickly over the surface and do not stand in one place for long, otherwise the turf will be damaged too much.
- Change of direction: When changing direction, press the guide bar down so that the roller lifts off the ground. This way the blades hover slightly above the lawn when turning.
Aftercare and maintenance of the lawn
If your scarifier does not collect moss and felt in a grass catcher, rake it off the lawn thoroughly. The deeper you scarify, the more material the device releases from the ground and the more often the grass collector has to be emptied. Then it is more practical to work without a grass catcher and then collect the excess green waste with a rake.
Then sow bald spots directly with fresh lawn seeds. Sprinkle lawns on heavy, cohesive soil with a thin layer of sand to loosen up the soil and improve its air balance.
After scarifying, the lawn will initially look quite "battered". Proper fertilization helps it to recover. The fertilizer can quickly settle in the loosened soil and does not float away even in heavy rainfall.
In the following three weeks, you should regularly water the lawn sufficiently so that it can recover well and grow back vigorously. In addition, the lawn should be walked on as little as possible after scarifying, to quickly develop back into a green, healthy lawn.
In this article you will learn all about:

Monika Aigner is a Project Manager for Media & PR at Einhell. Through regular internal product training, she possesses extensive knowledge of the functionality and application of various Einhell tools and garden equipment. Combined with clear instructions, she imparts this knowledge in her blog posts.