The lamp with personality
My two grandchildren are soon celebrating their birthday and I wanted to give them something personal, unique and heartfelt. I think I succeeded with these lamps.
If you also want to make someone happy with this lamp or simply beautify your home, here is what you need for this project:
| Material | Tools |
|---|---|
| Wood | Band saw / table saw |
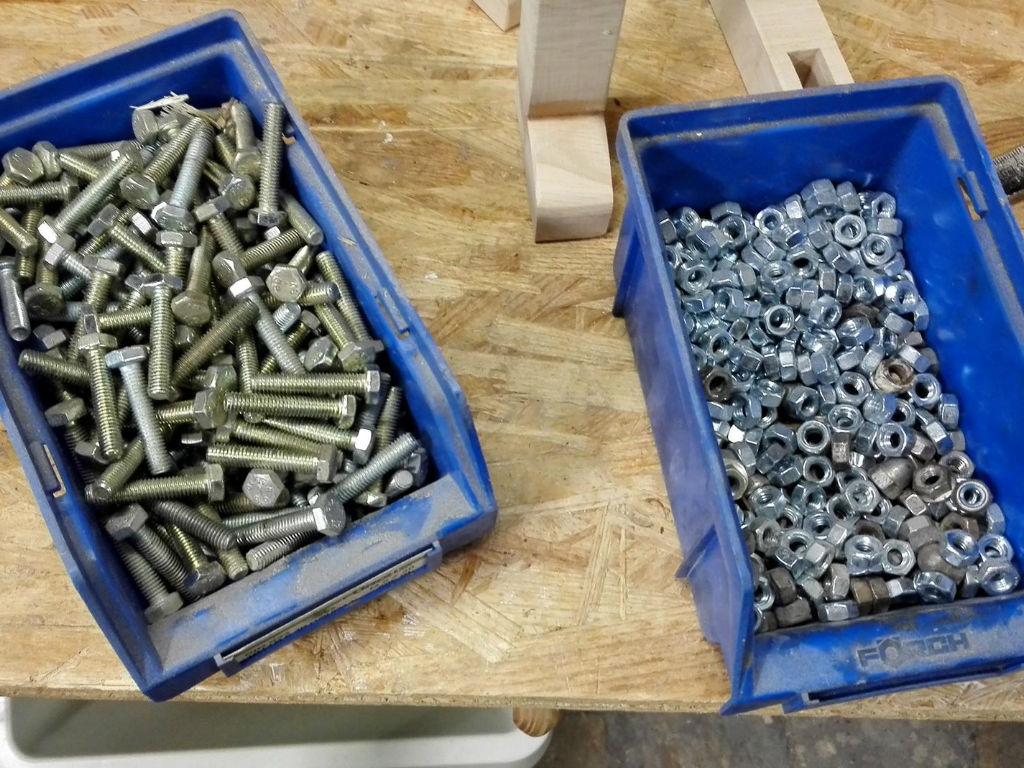
| Screws, washers, nuts M6 | Drilling machine |
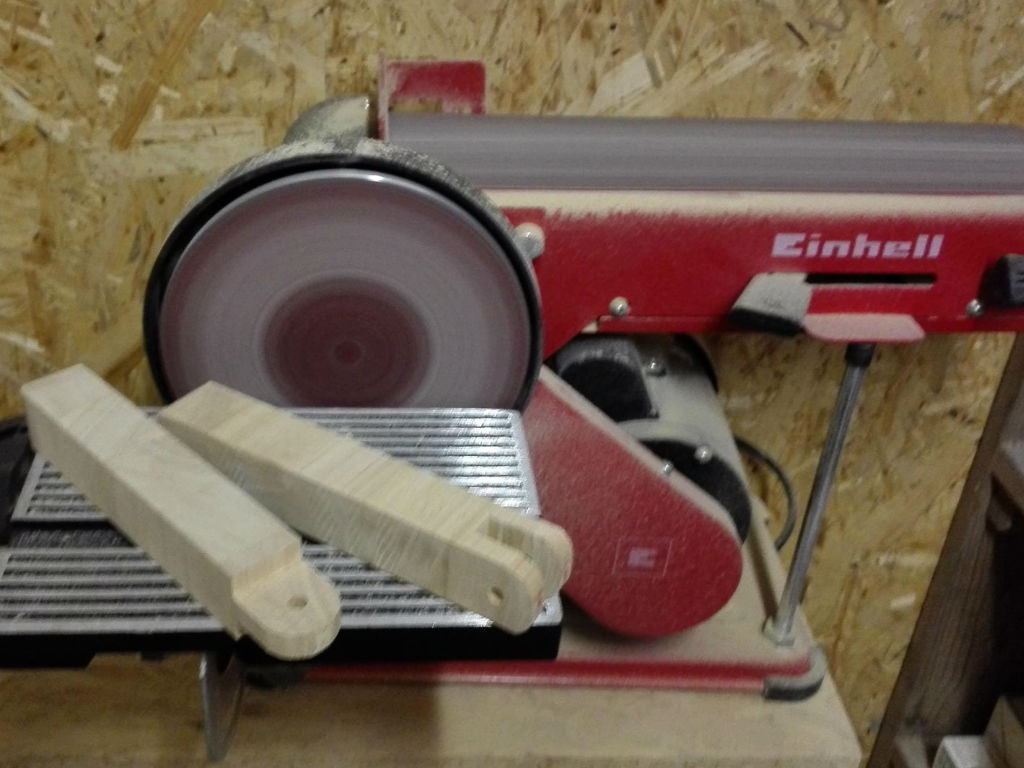
| Wood glue | Stationary belt-disc sander |
| A suitable lamp as a head | Grinder |
Step 1: Cutting the boards
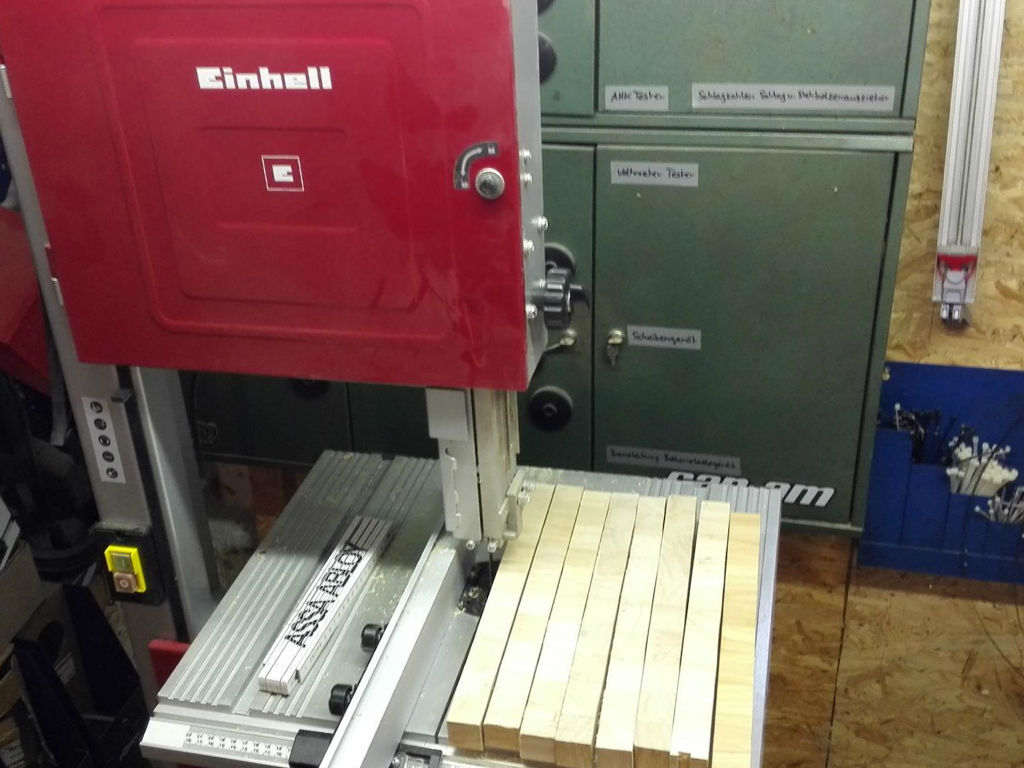
Before we can start with our project, we need wood. I decided for a scrap wood from a cutting board made of rubber tree.
From this we cut out 28mm wide strips of squared timber, which we then cut to a length of 200mm. You can of course also dimension the proportions differently. But depending on how you set the measurements, your lamp will later be of course larger or smaller. The other dimensions must also be adjusted. My lamp will later have a height, with the lamp head, of about 55-60cm.

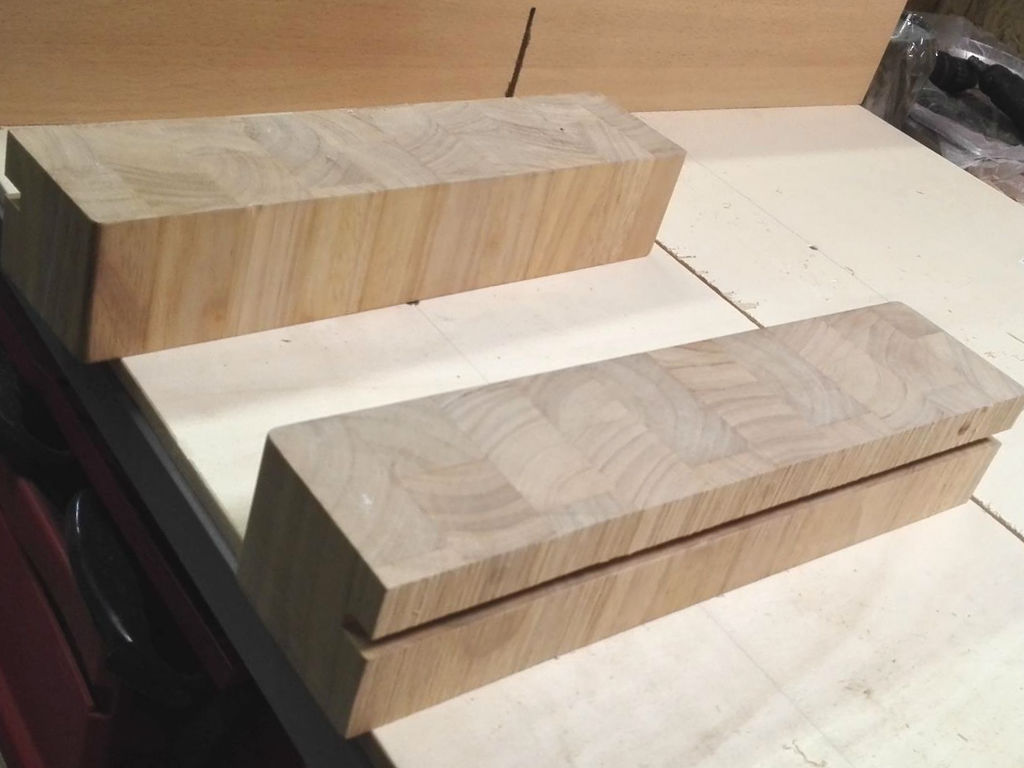
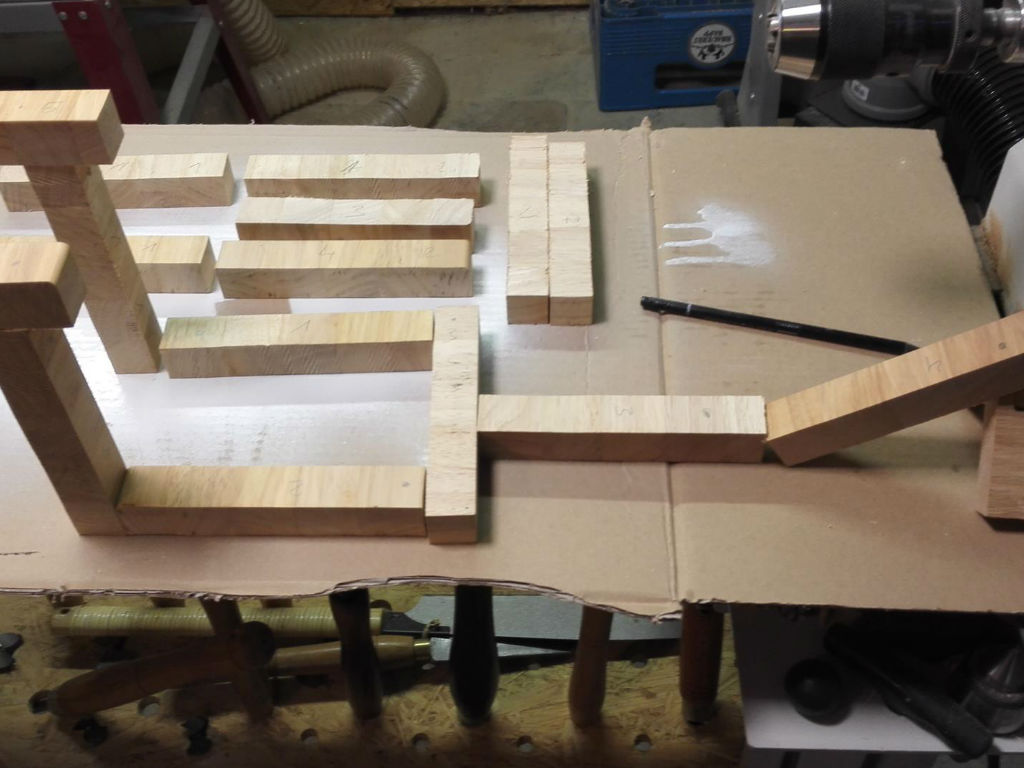
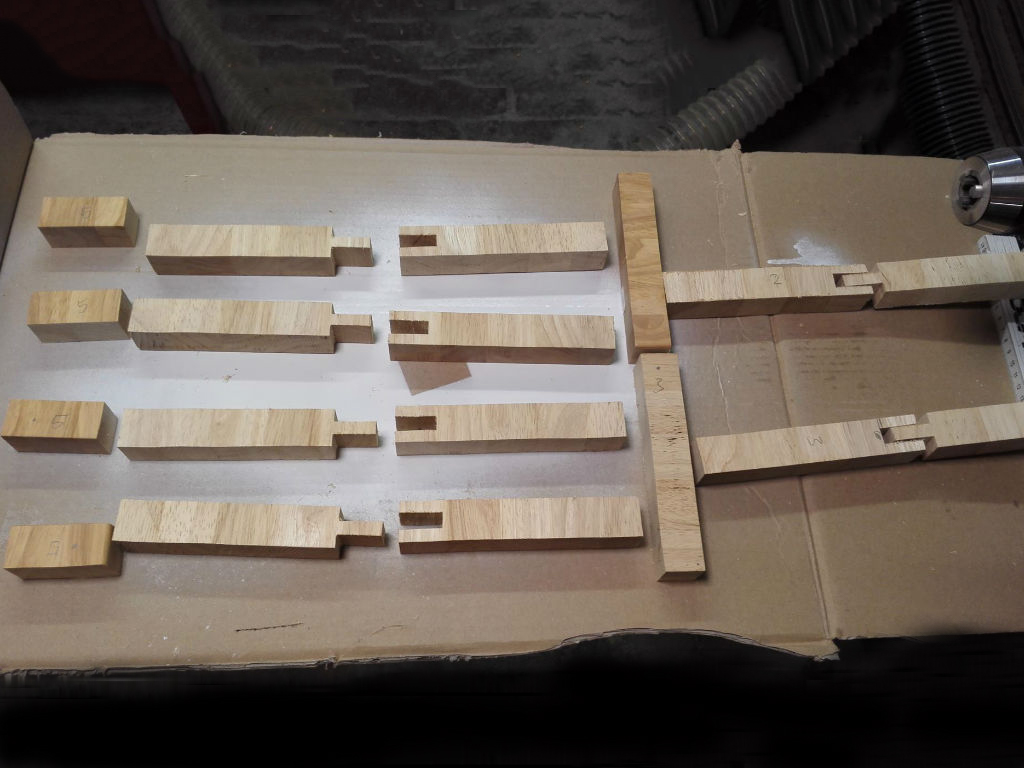
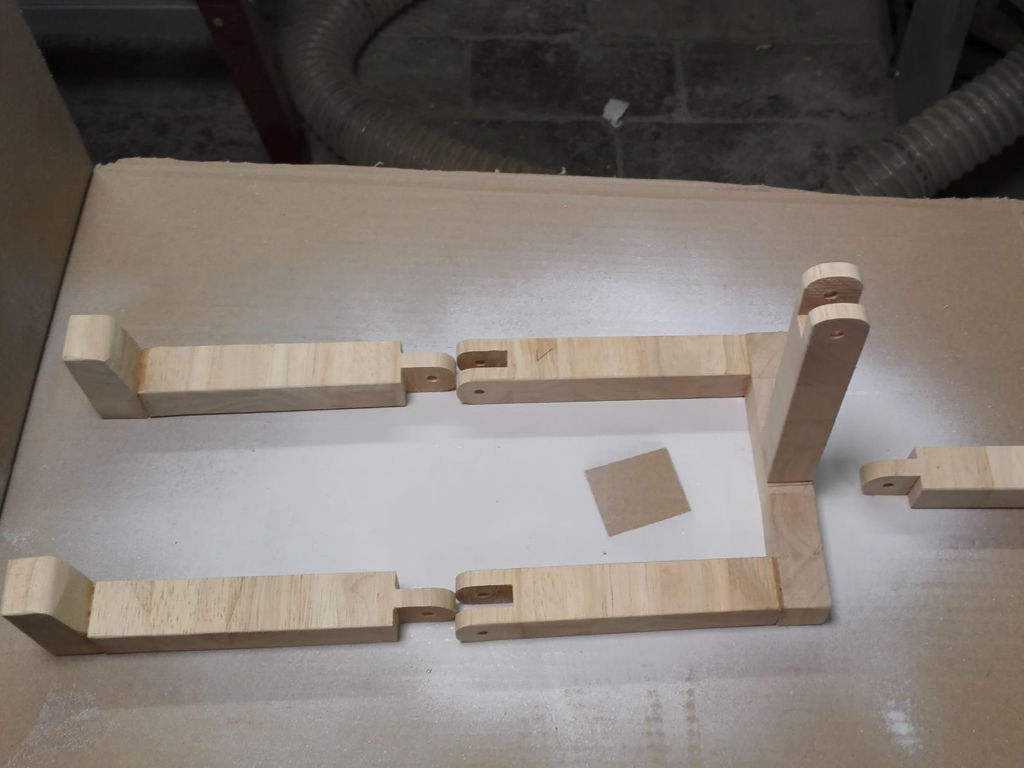
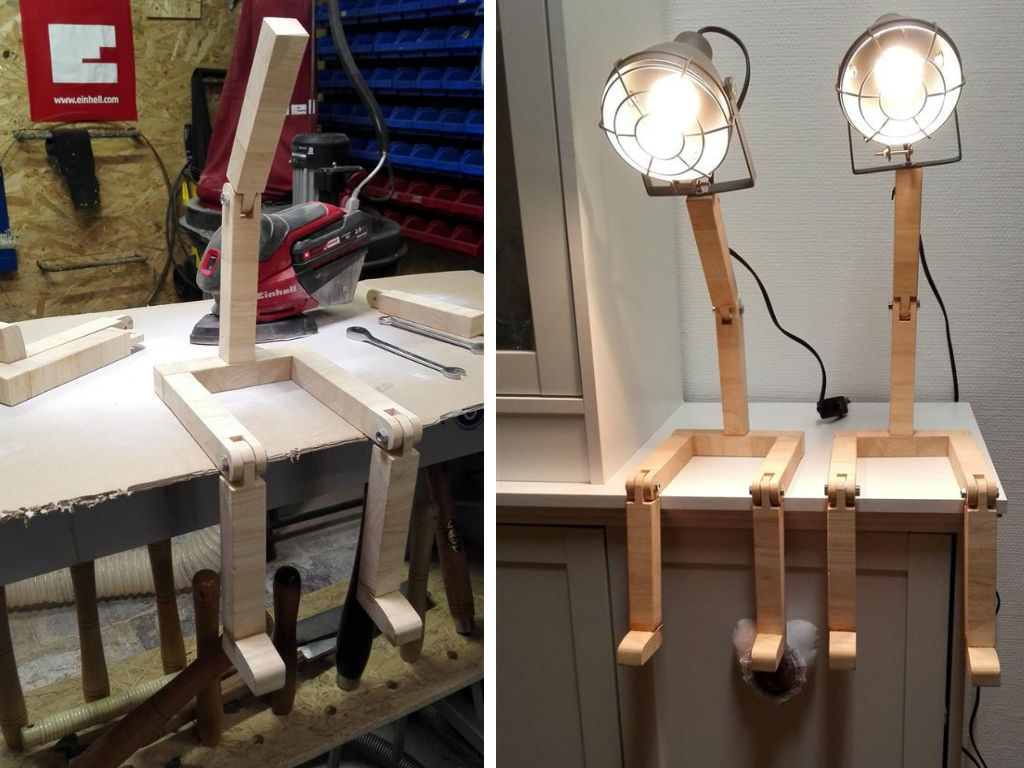
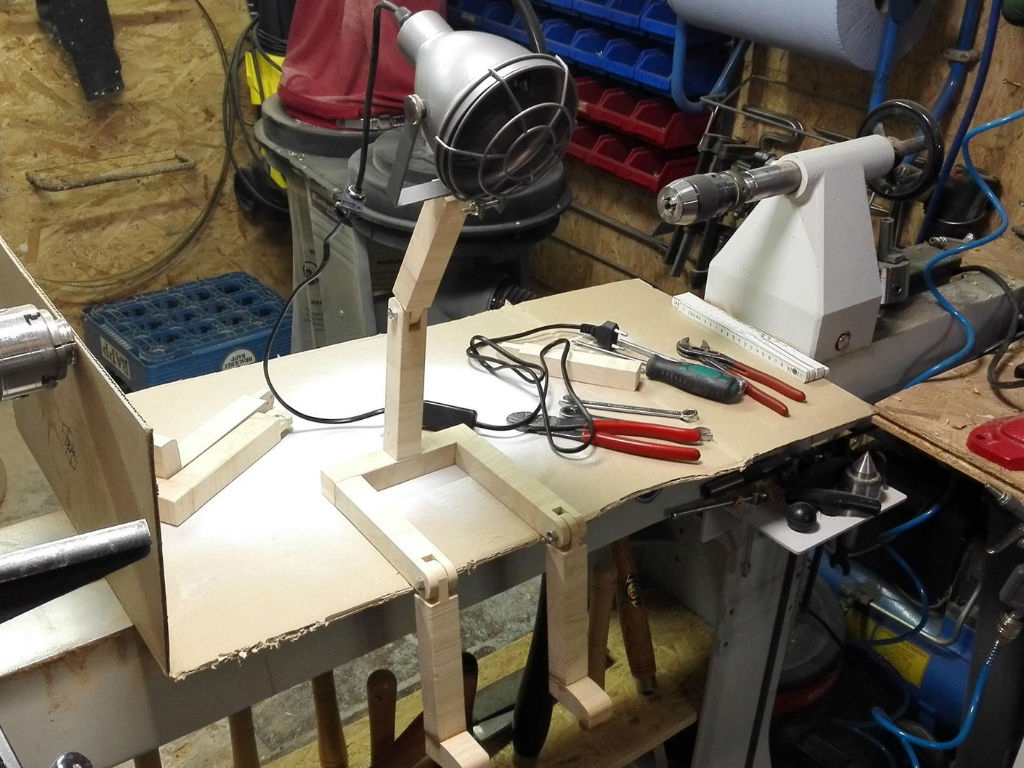
Now we have to organize the wood pieces. All in all, we need 7 equal woods for the body and 2 shorter wood strips that serve as feet. For better understanding, I have a picture of the prototype for you here.
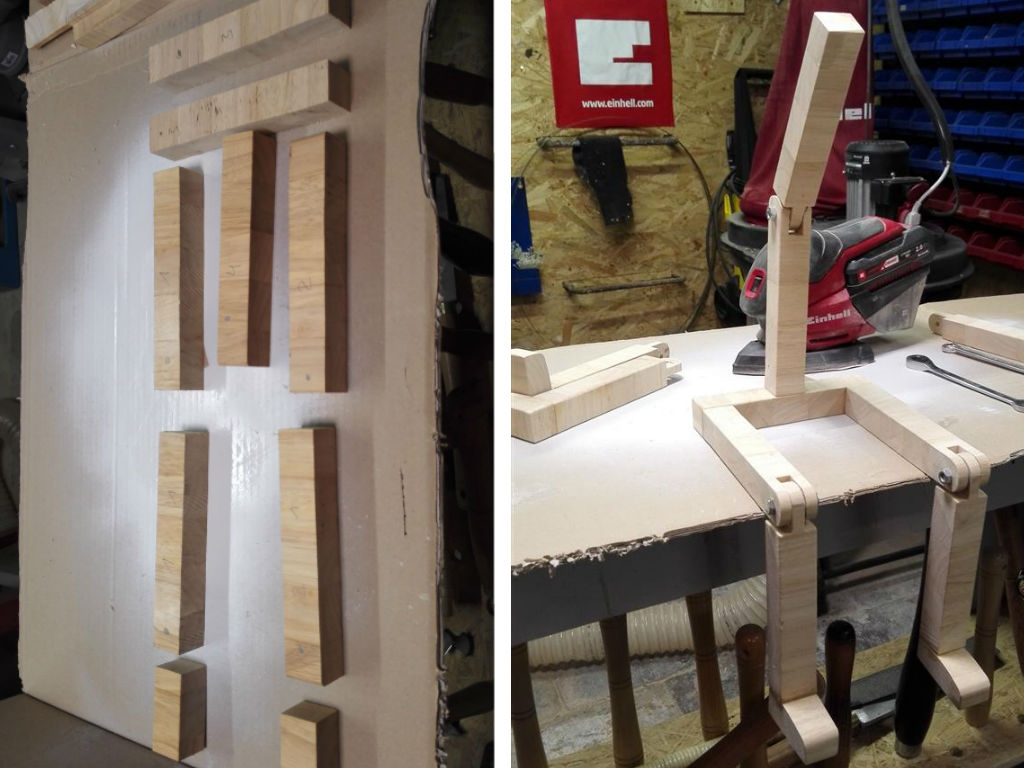
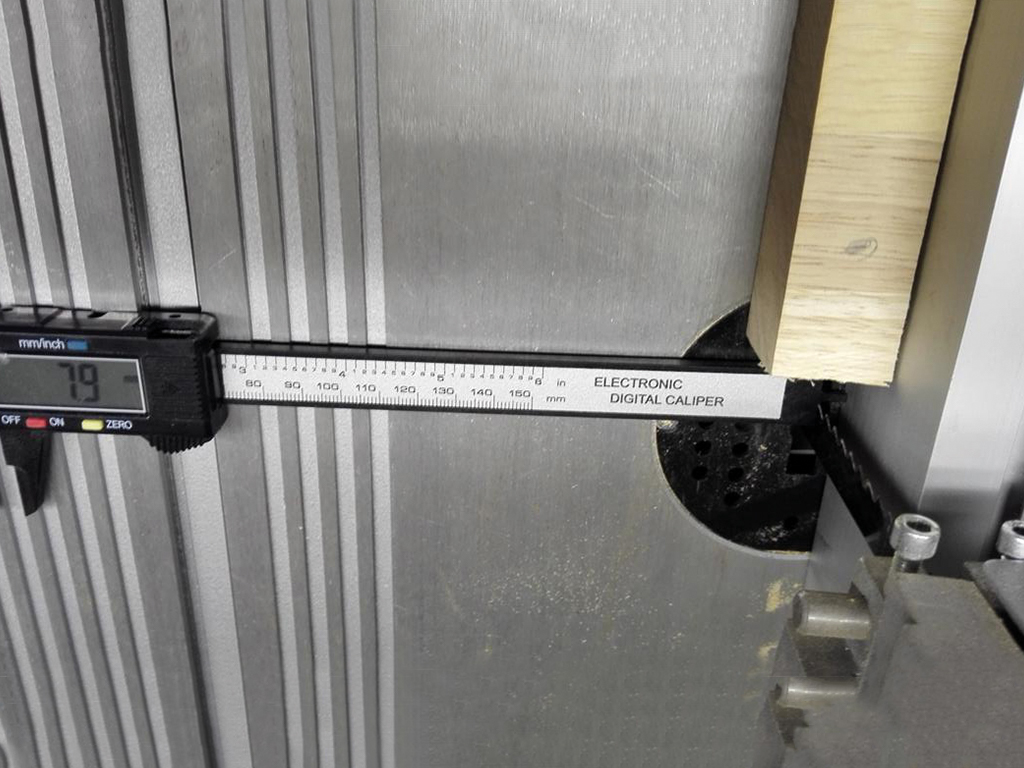
Step 2: Building the joints
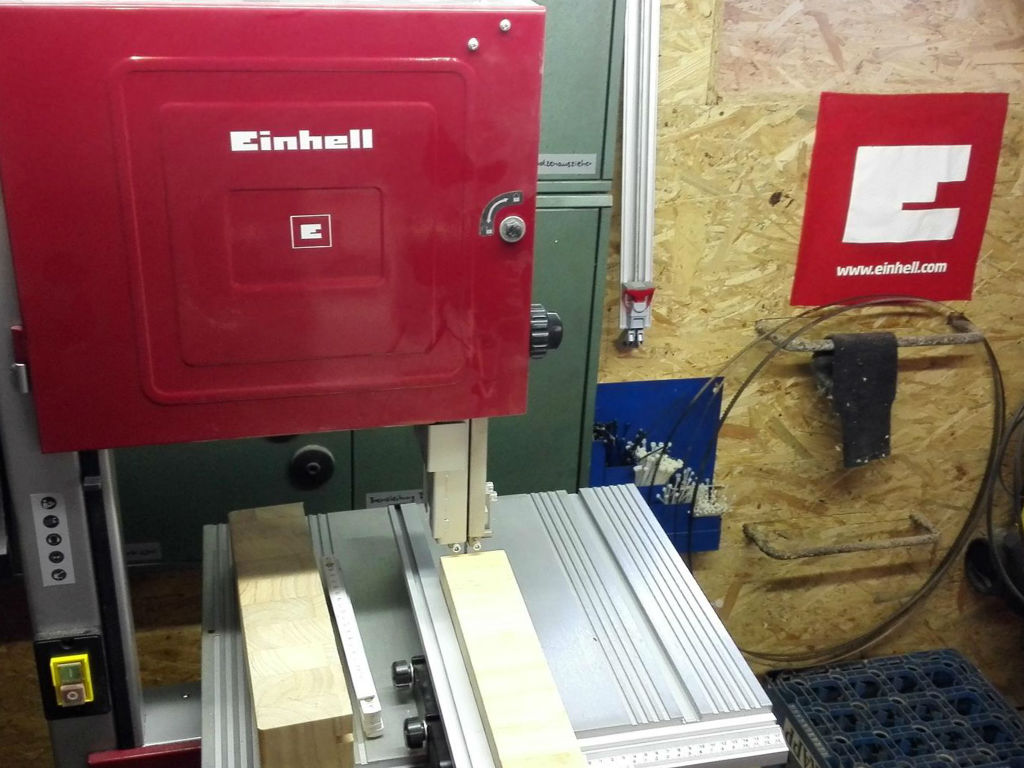
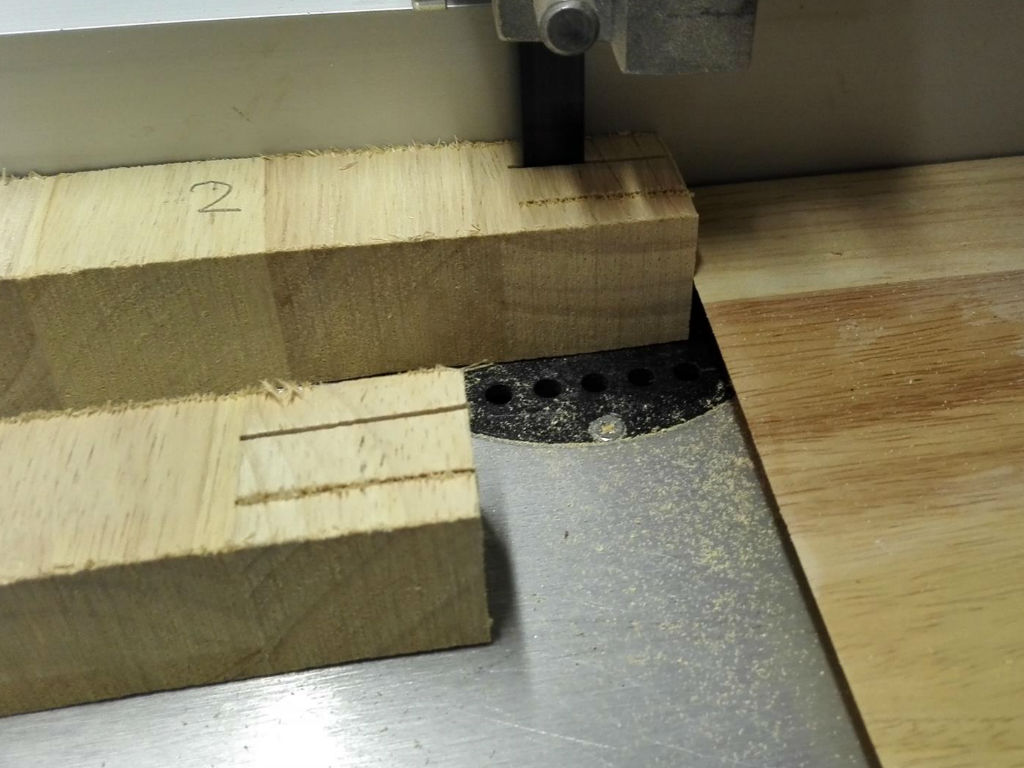
Next, we have to cut the wood at the knees and upper body mirrored to create the joints. For this purpose, we set the longitudinal stop on the band saw to approx. 7.9 up to 8 mm and attach a stopper so that we can cut constantly in 30mm deep. This ensures that we can make any joint with the same cut-out.
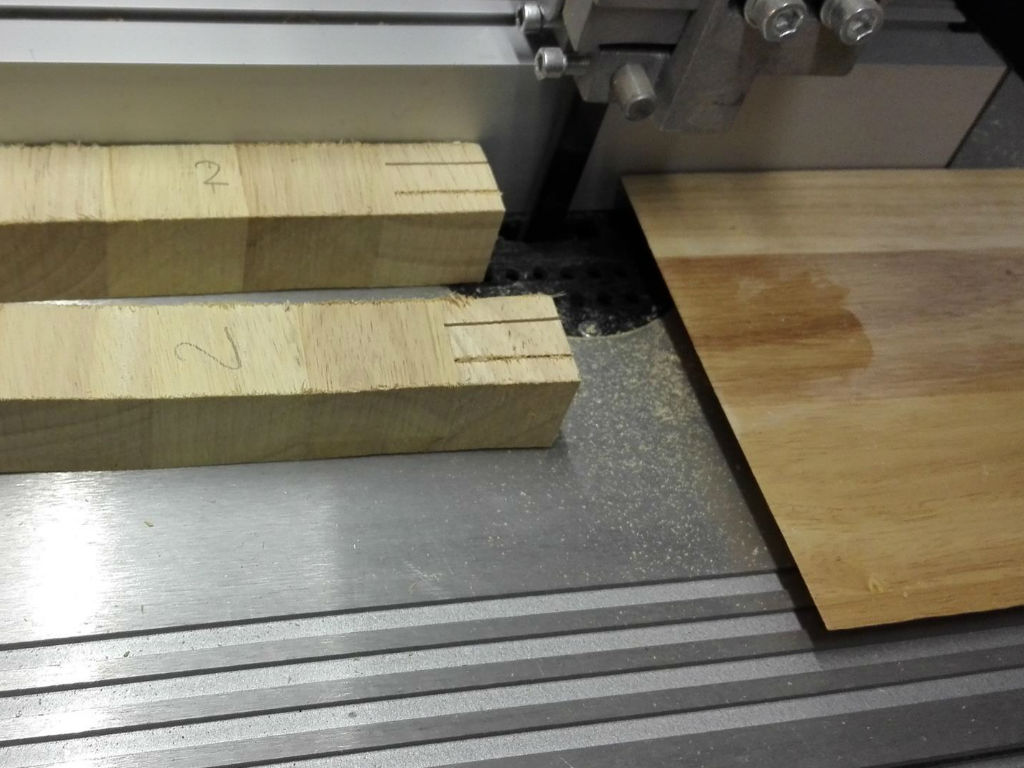
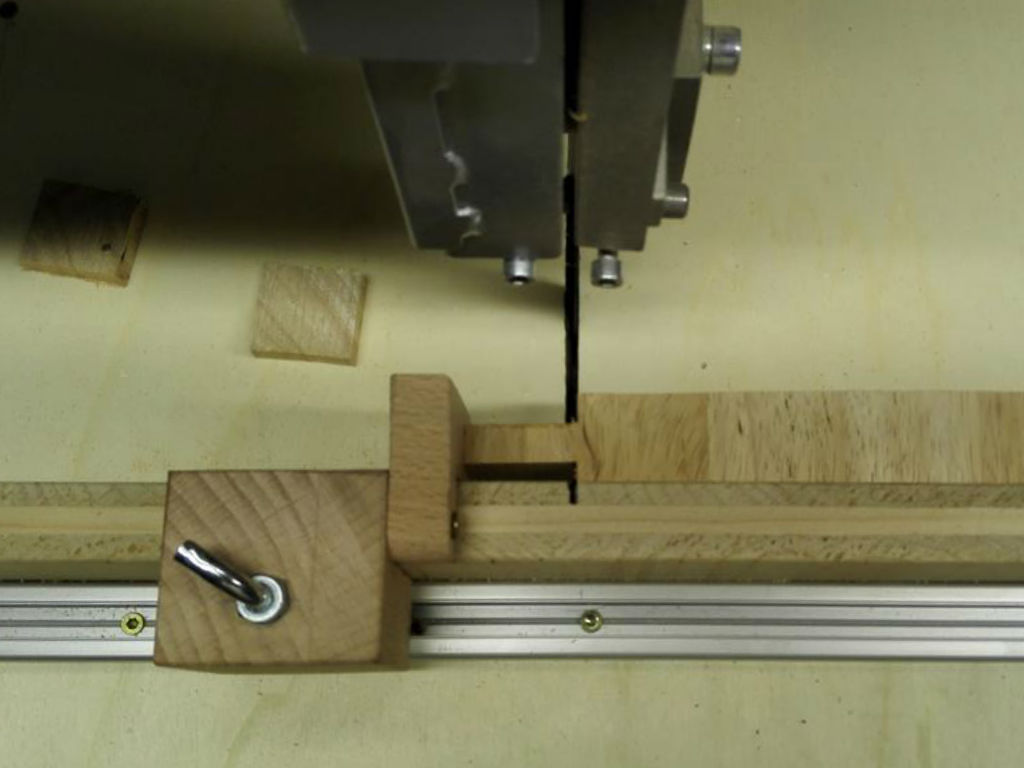
Afterwards we cut out all 6 squared timbers for the 3 joints equally. I did everything two times because I made two lamps. The stopper is still mounted and now we cut the center from the joints out. We can do that, by cutting a few times into the wood with our sawblade and then we are moving along the stopper to generate a nice and straight middle.
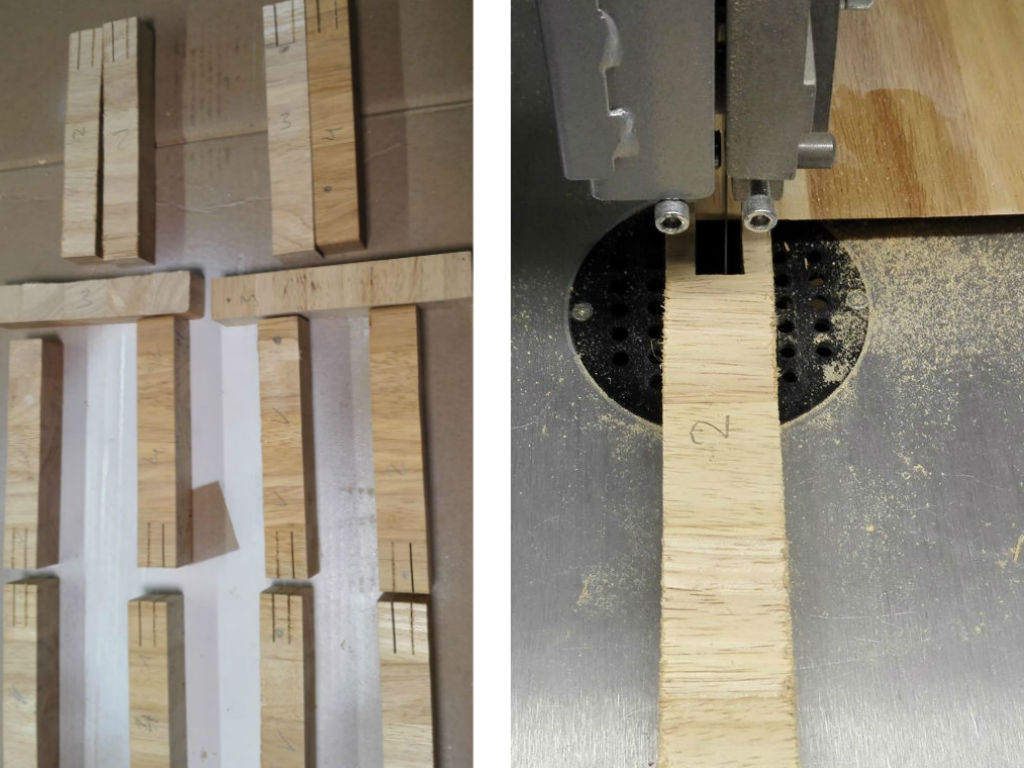
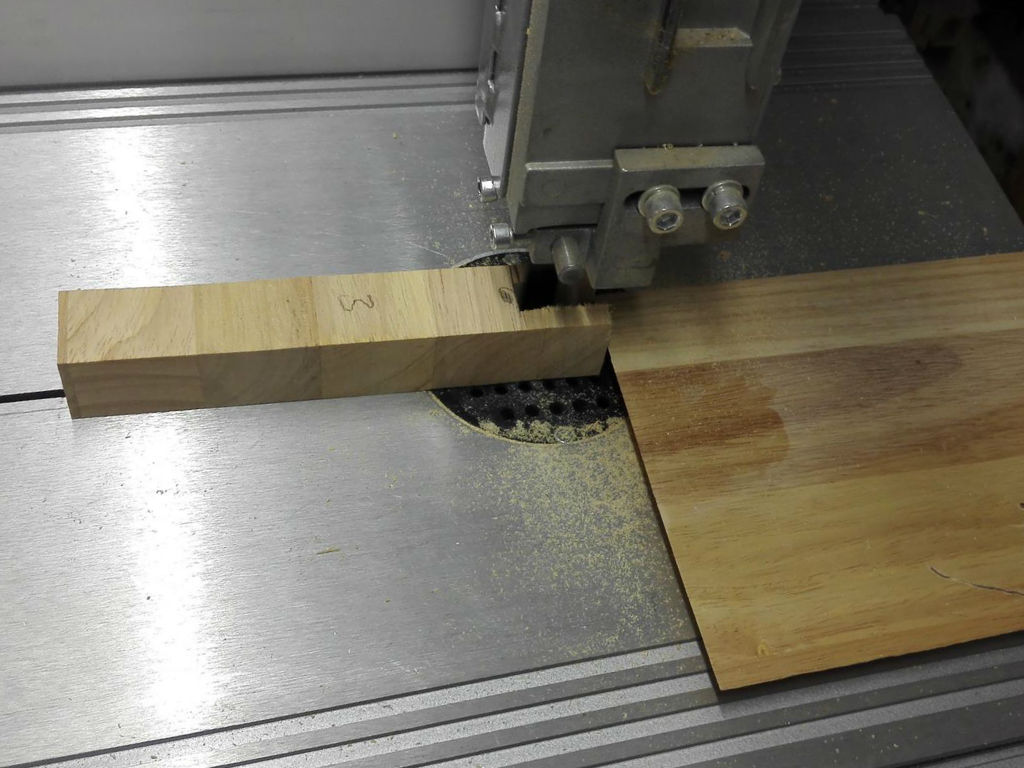
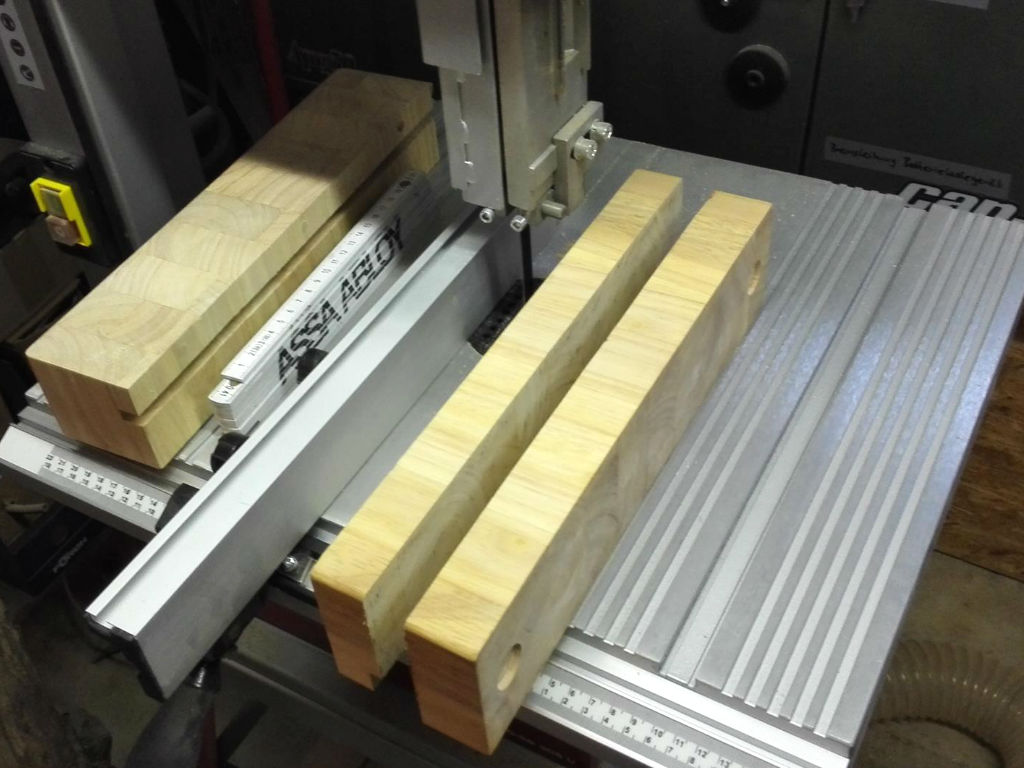
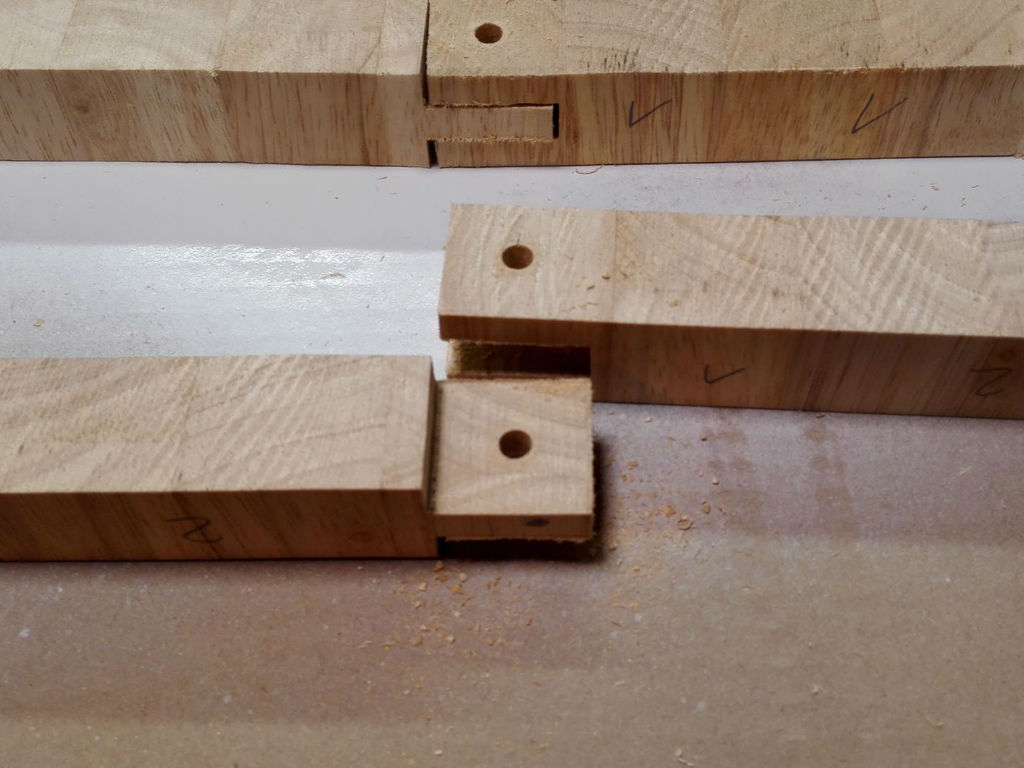
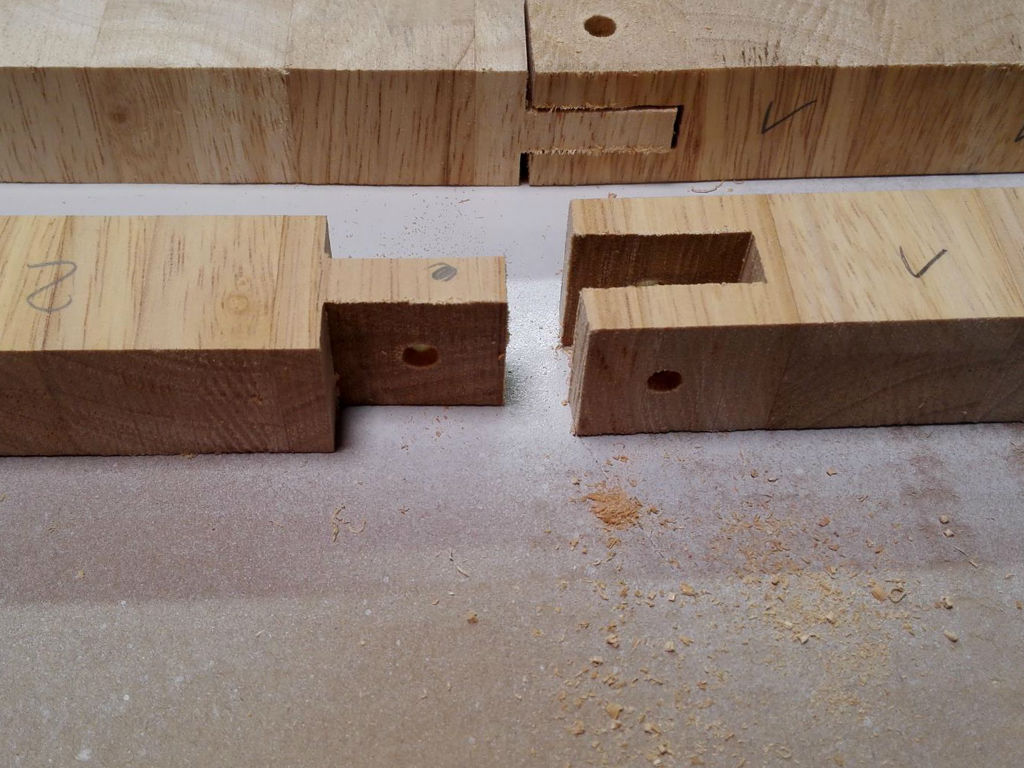
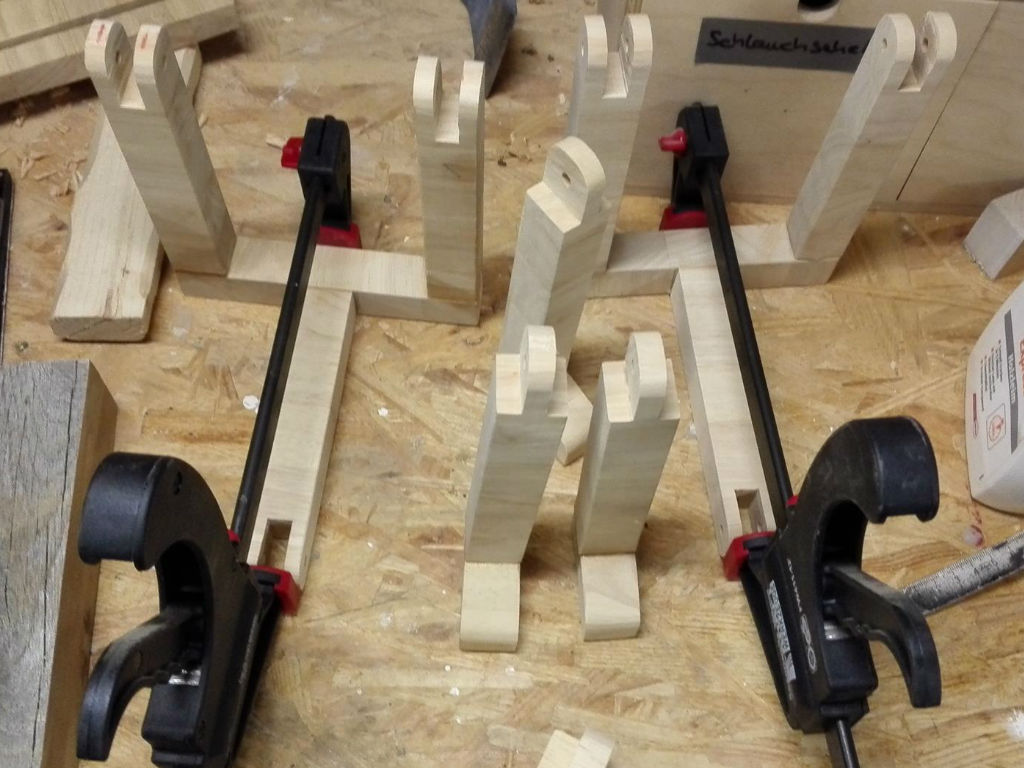
Now we cut the counterpart to the joint, I did this with my self-made sliding table for the band saw. Of course you can also use a normal slide stopper there.
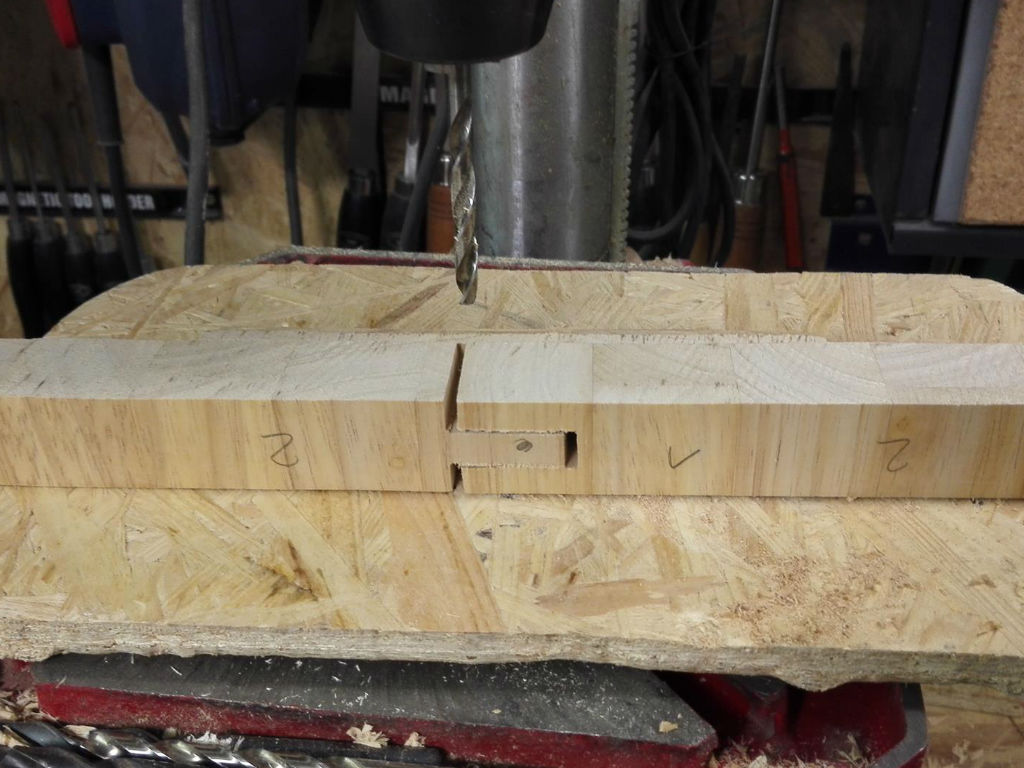
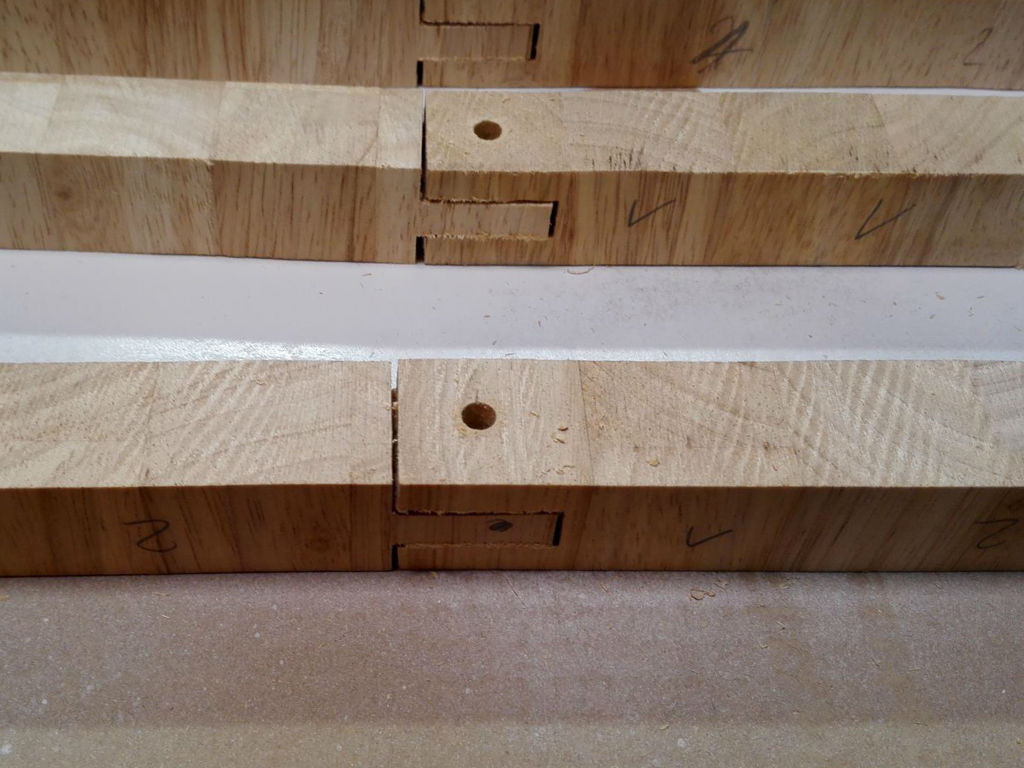
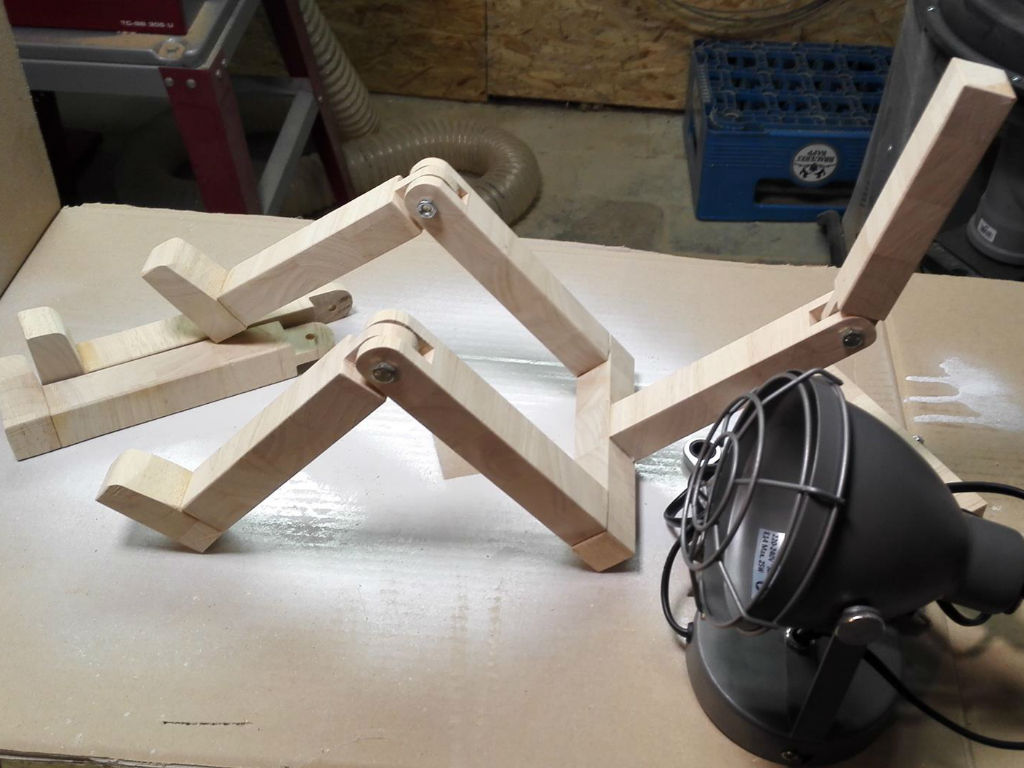
This is what the whole thing looks like in a double version.
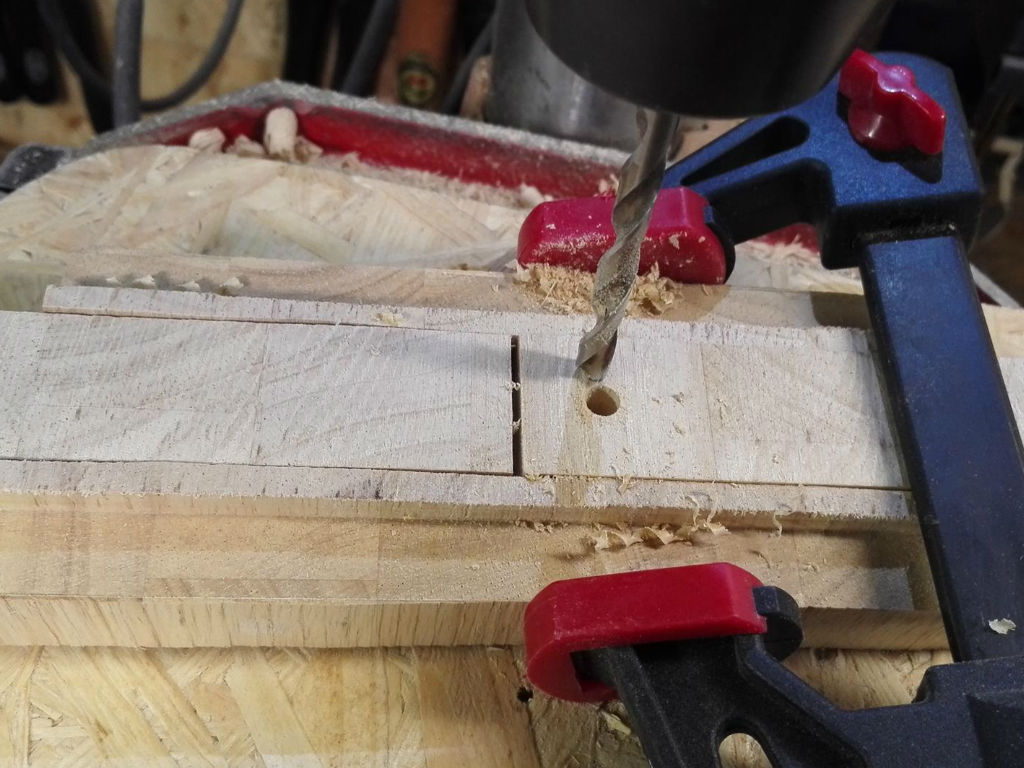
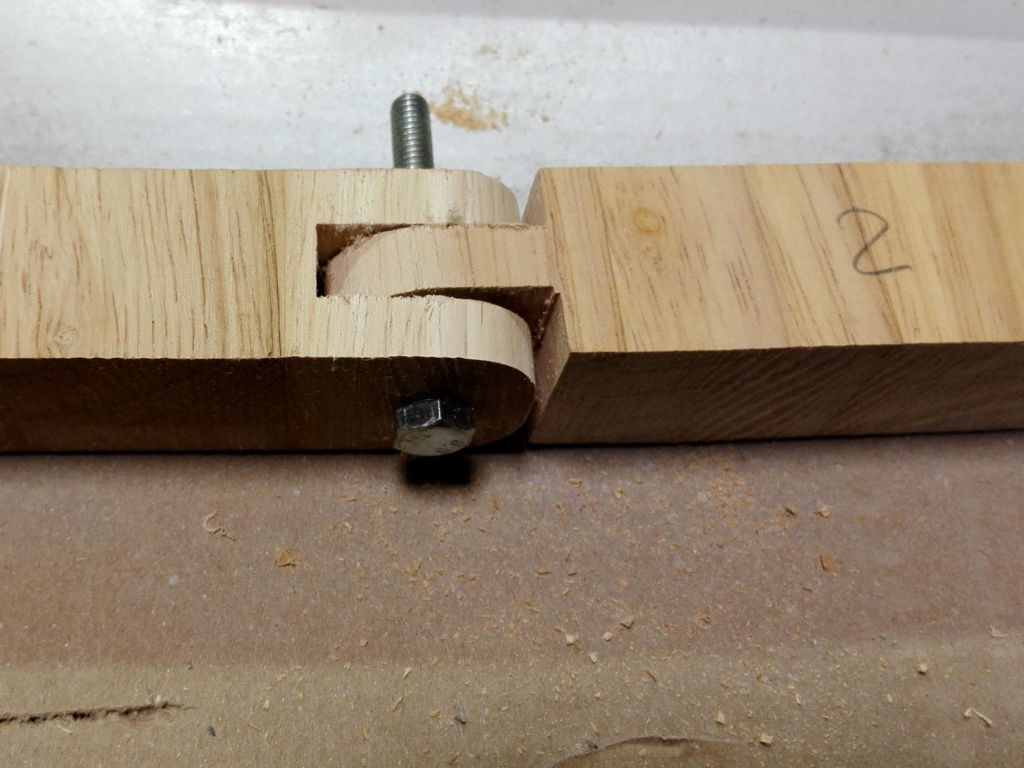
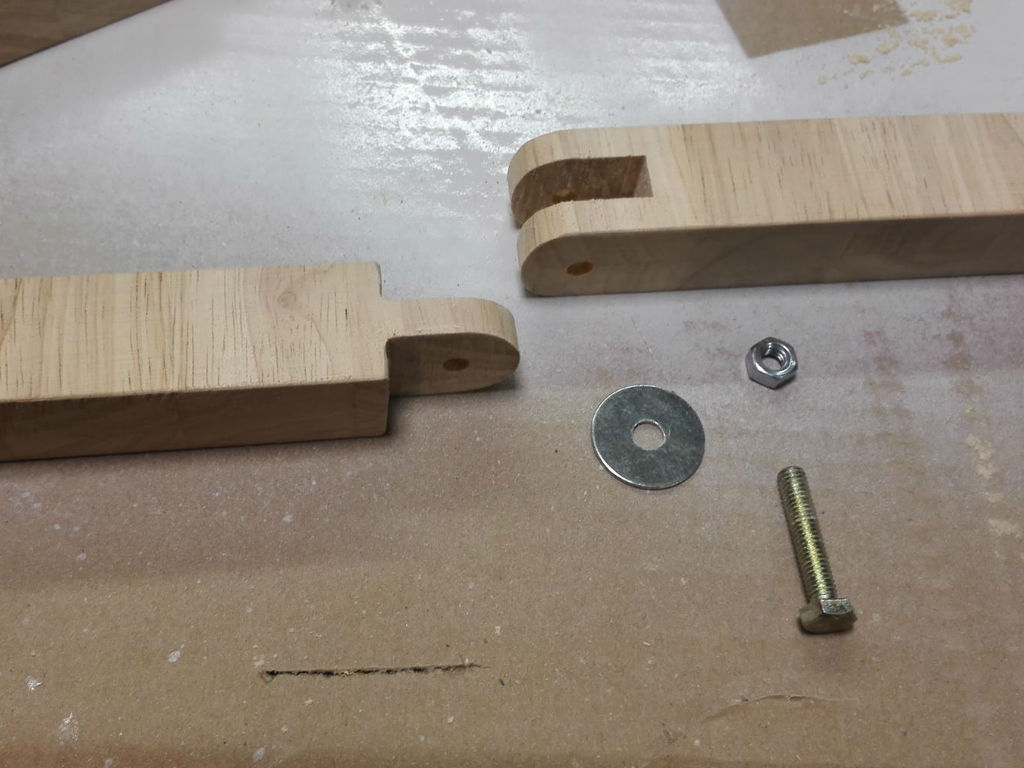
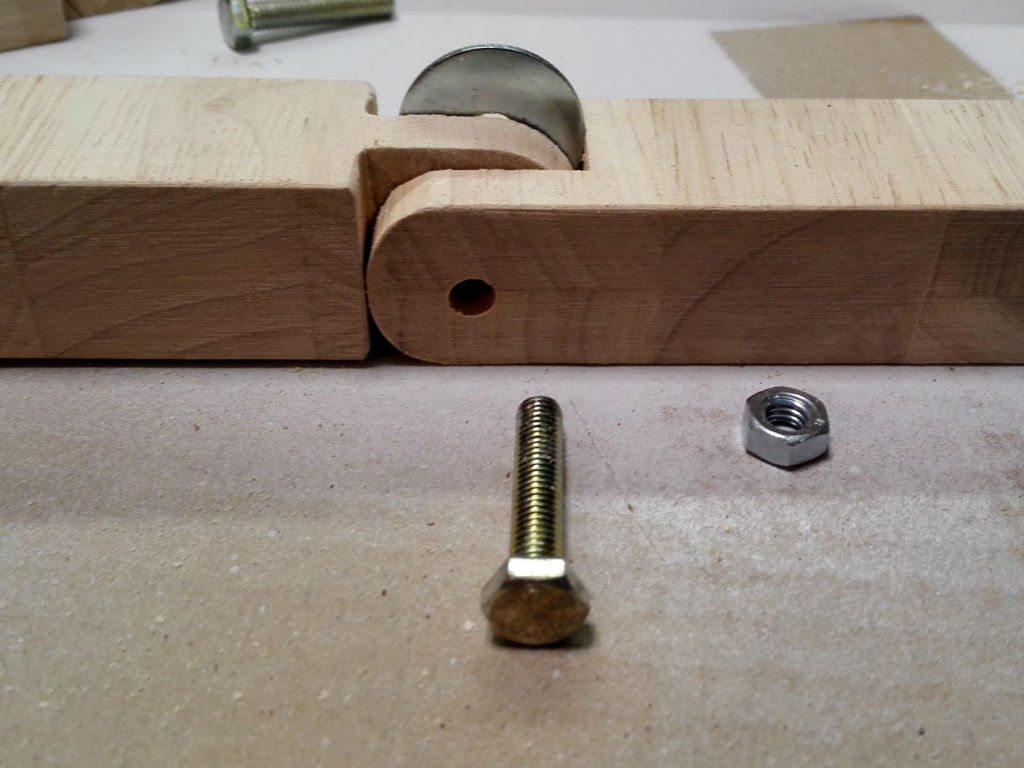
Now we drill the joint center with a 6mm drill on the drill press. For this I fixed both joint pieces with the help of 2 remaining woods and a glue clamp with a distance between the joint pieces of about 2mm.
Then we have to round off the wood pieces at the joints, otherwise our joint won´t work.

Step 3: Sanding the woods
Not only the joints are getting sanded, we also grind all the other woods. You can do this both with a belt sander or free handed.
Step 4: The assembly
Then we glue the lower body together. The wood parts have now the shape of an U.
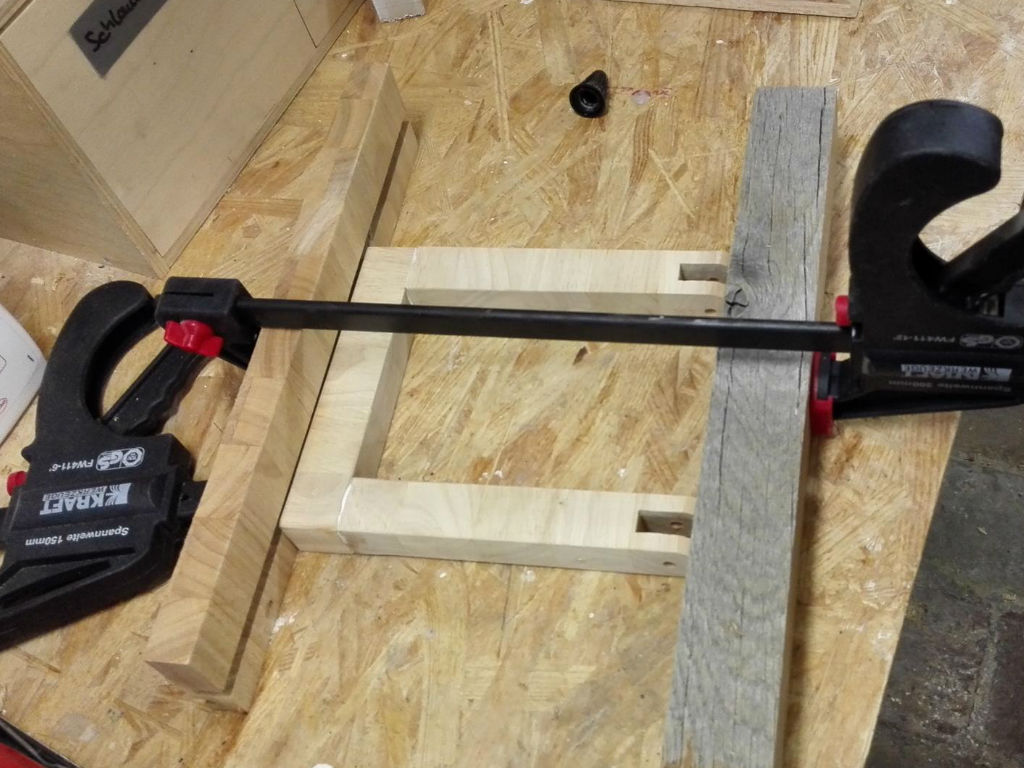
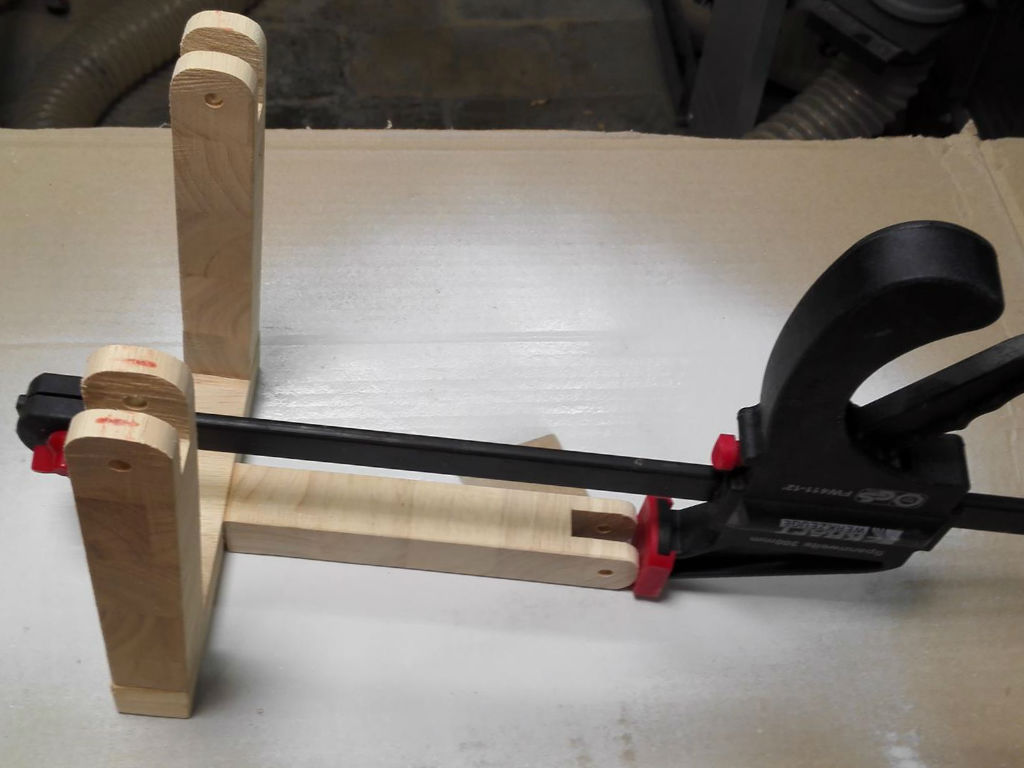
When the lower body dried, we start gluing it together with the feet. Furthermore, I fastened my construction with clamps while drying.
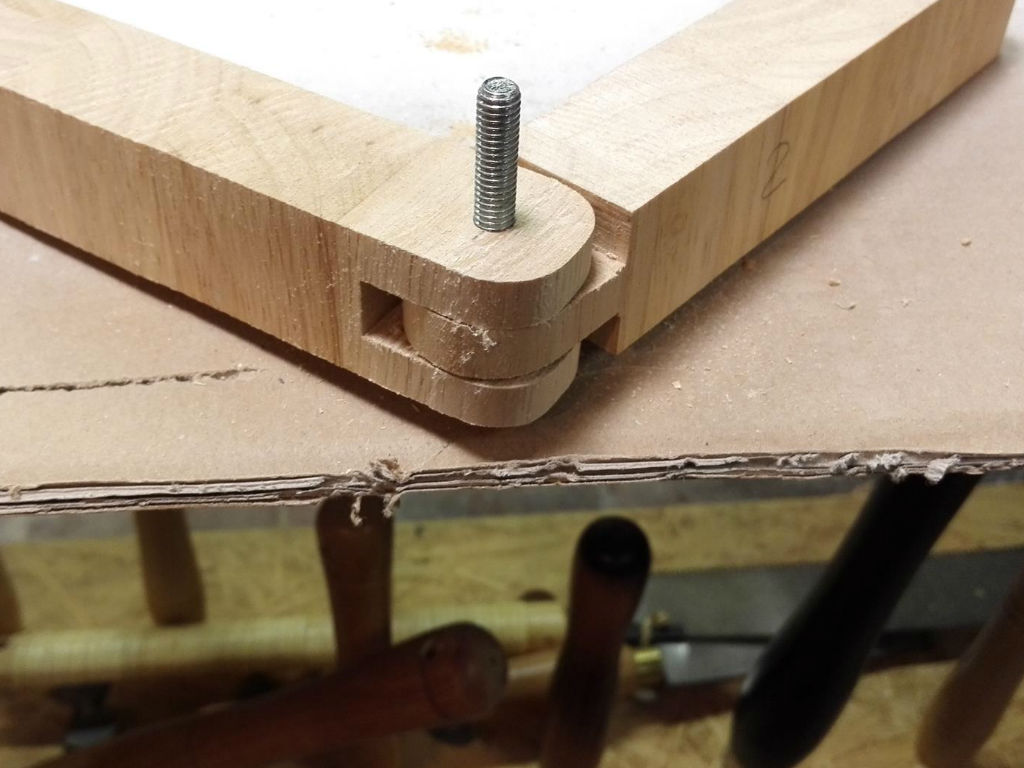
Next we need matching screws, washers and nuts M 6. The washers are needed to compensate the thickness of the saw blade from the notch. Of course you could cut the woods at the joint also separated on the longitudinal stop, so you could save the washers, but I was frankly too lazy.
Step 5: The Finish
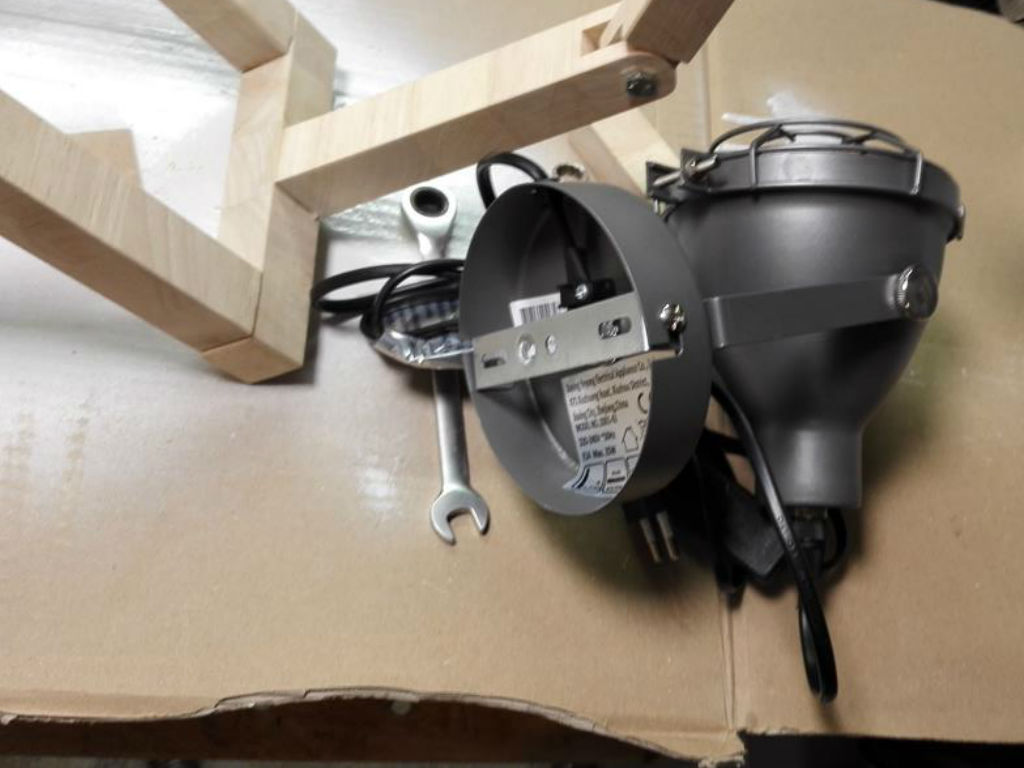
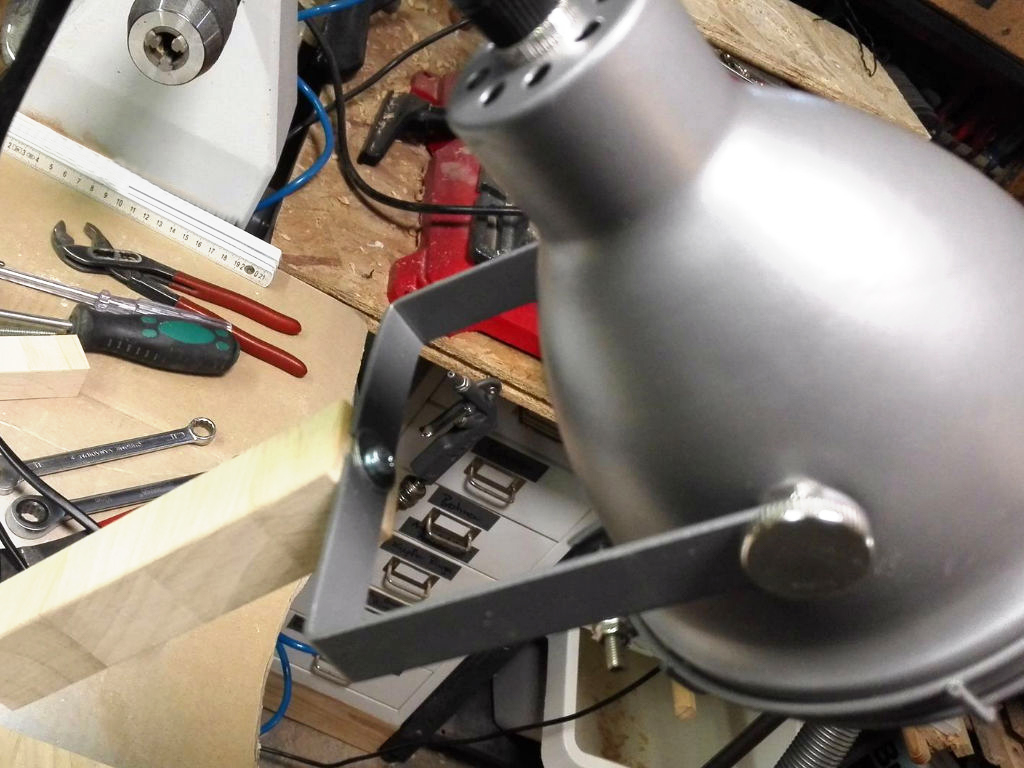
Finally, we only need the head of our lamp. For this I bought a wall lamp, which I screwed on top of my construction.

And finished is our self-made designer lamp.
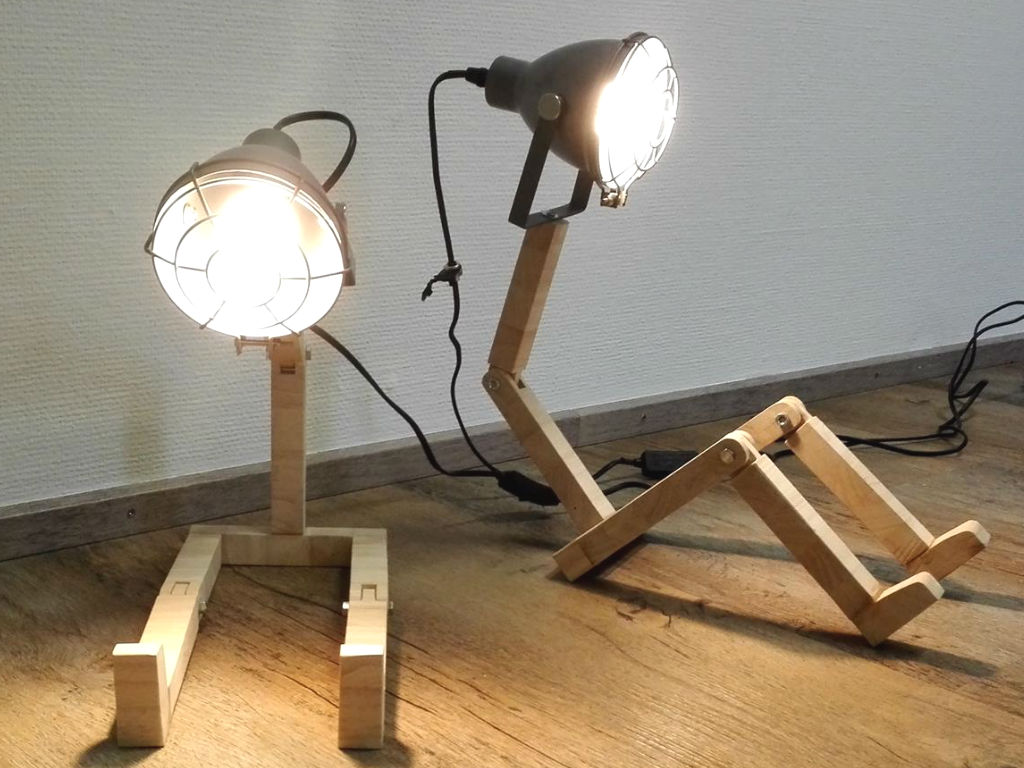
I hope I could inspire you a little bit again.
Your Einhell Harry