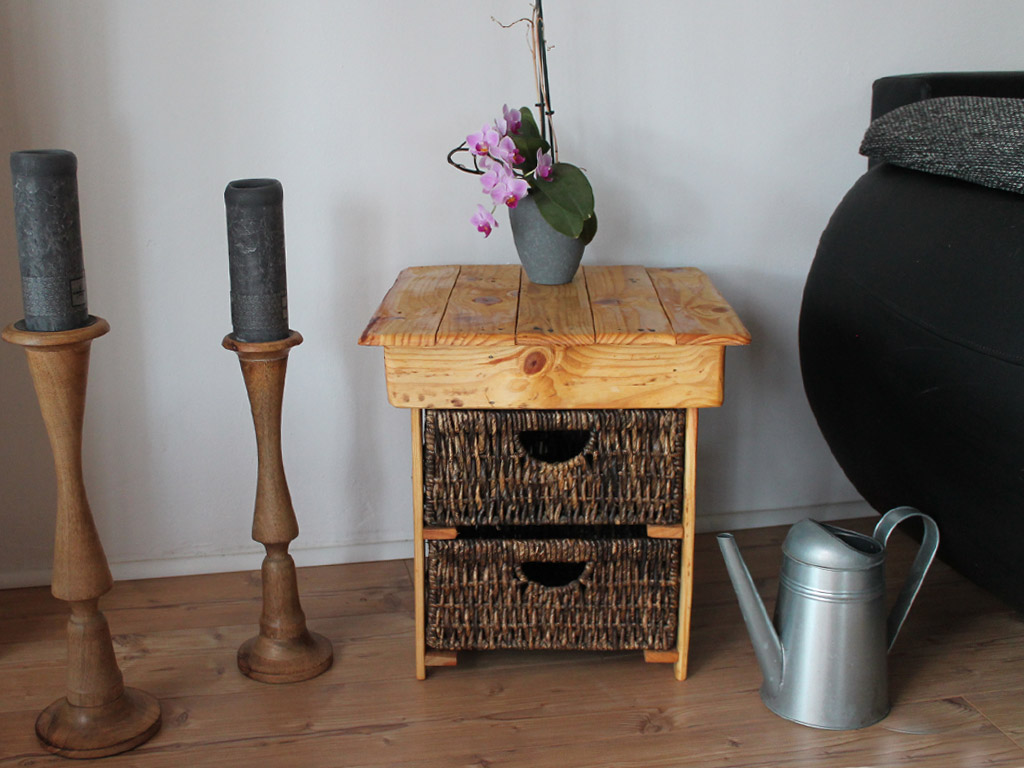
Side Table – individual and economical
You are looking for a new fancy side table but can´t find the right one in the furniture store around the corner? Everybody knows that phenomena, and if you come upon a nice table, the price mostly won´t fit one’s budget. So why don´t you do it yourself? The table would be individual and you save money, so let´s get it started!
| Material | Tools |
|---|---|
| Small disposable pallets | angle grinder & grinding disc |
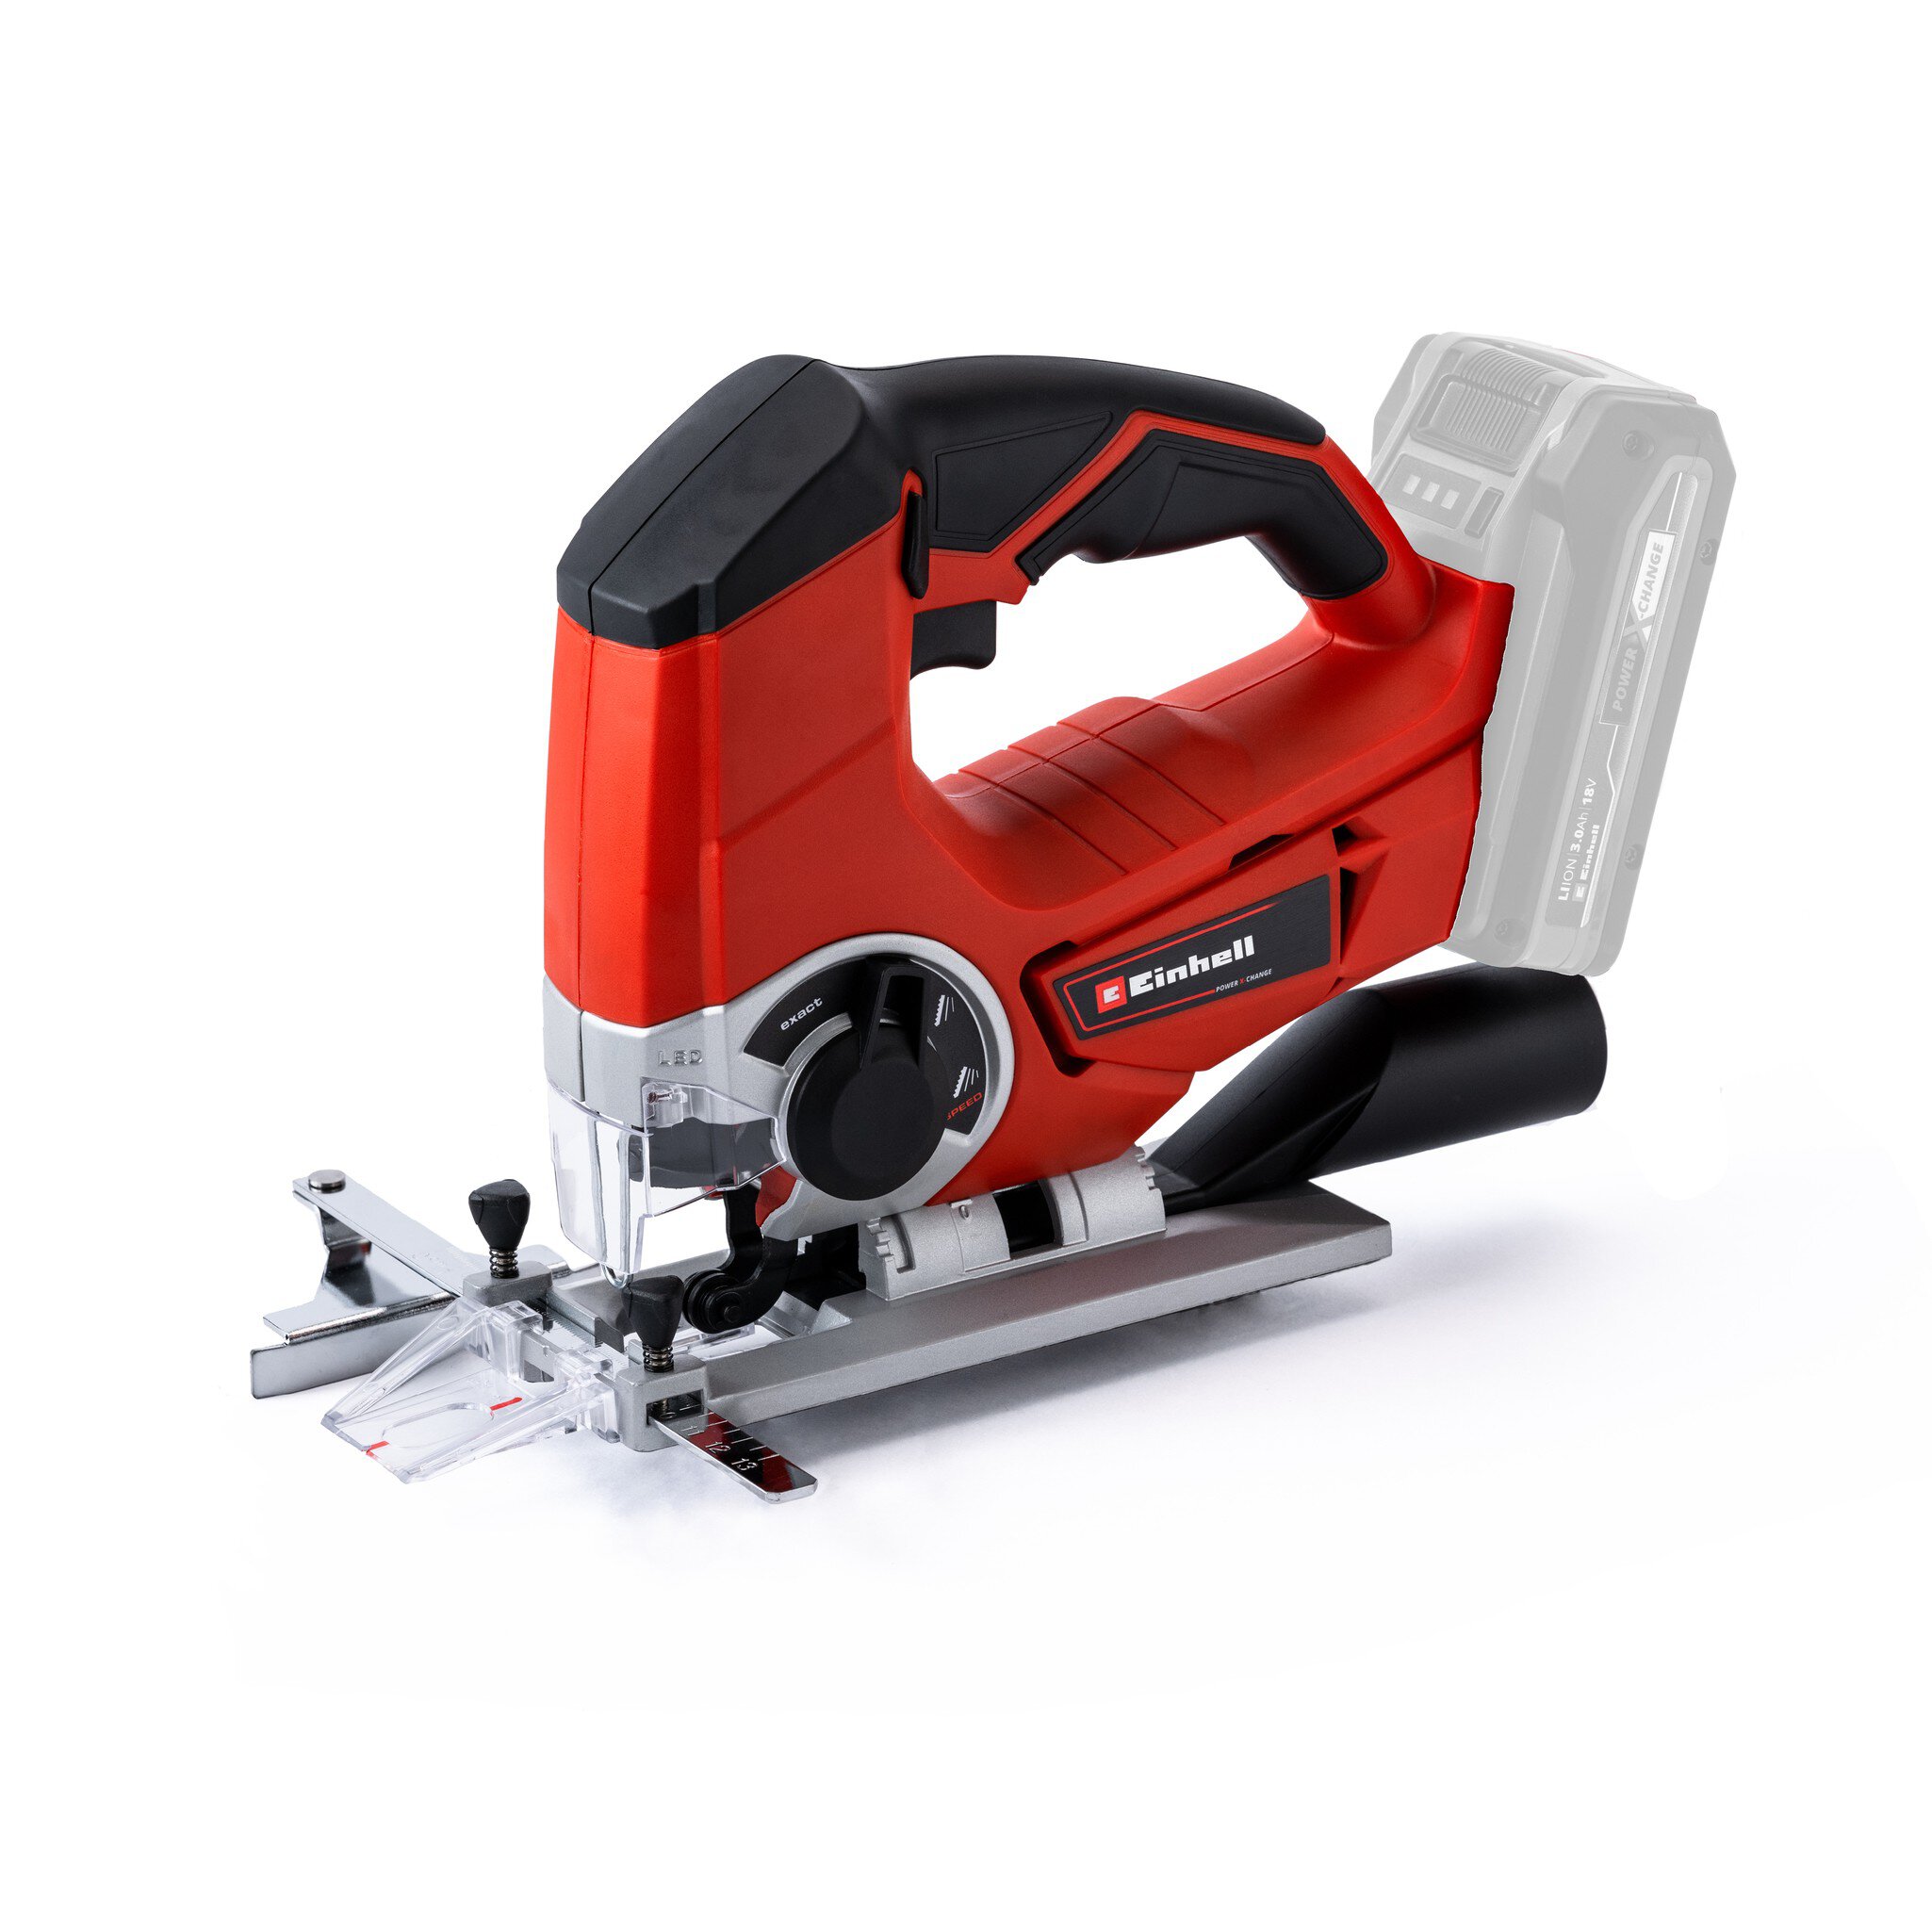
| Screws 3x25mm | circular saw / jigsaw / handsaw |
| Screws 3x35 mm | cordless screwdriver |
| Wood glue | countersunk head drill |
| Varnish (colour on request) | 2 mm drill |
| Abrasive paper for the grinding disc 60, 120, 240 | angle |
| saw | |
| pencil |
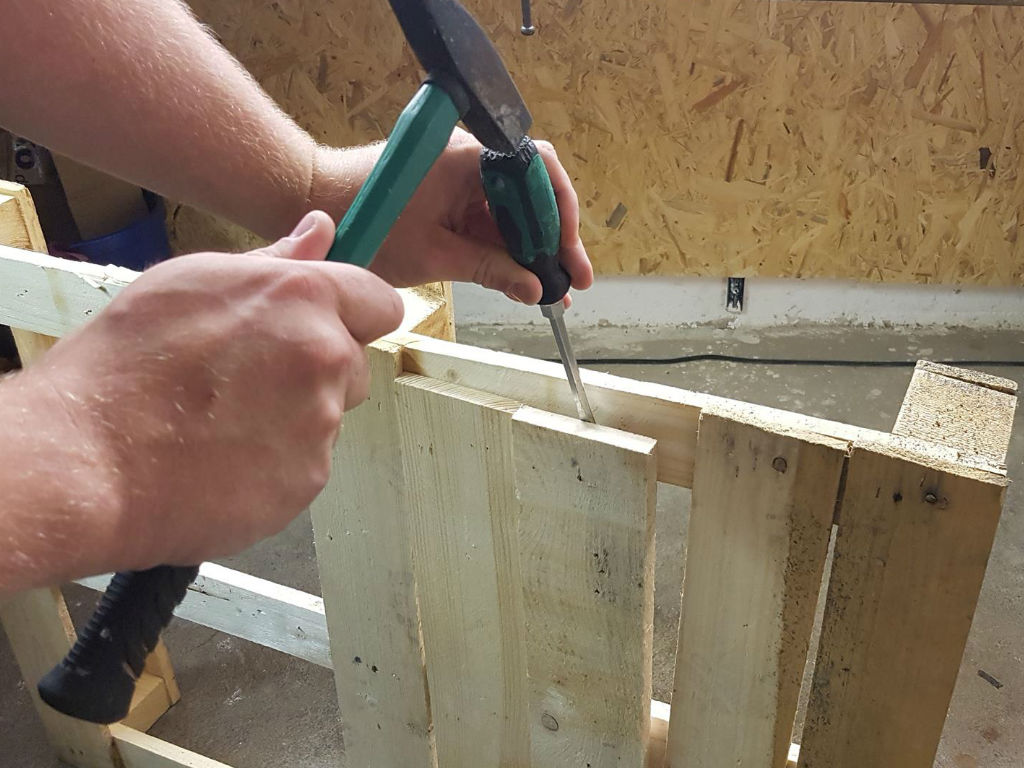
Step 1: Dismantling pallets
At first I have dismantled the pallets. For this project I need 15 boards. To make the process of dismantling the pallets much more easy you need a slotted screwdriver and a hammer. I´ve placed the slotted screwdriver between nails and boards, with gentle but firm strikes, the planks are being severed from the rest.
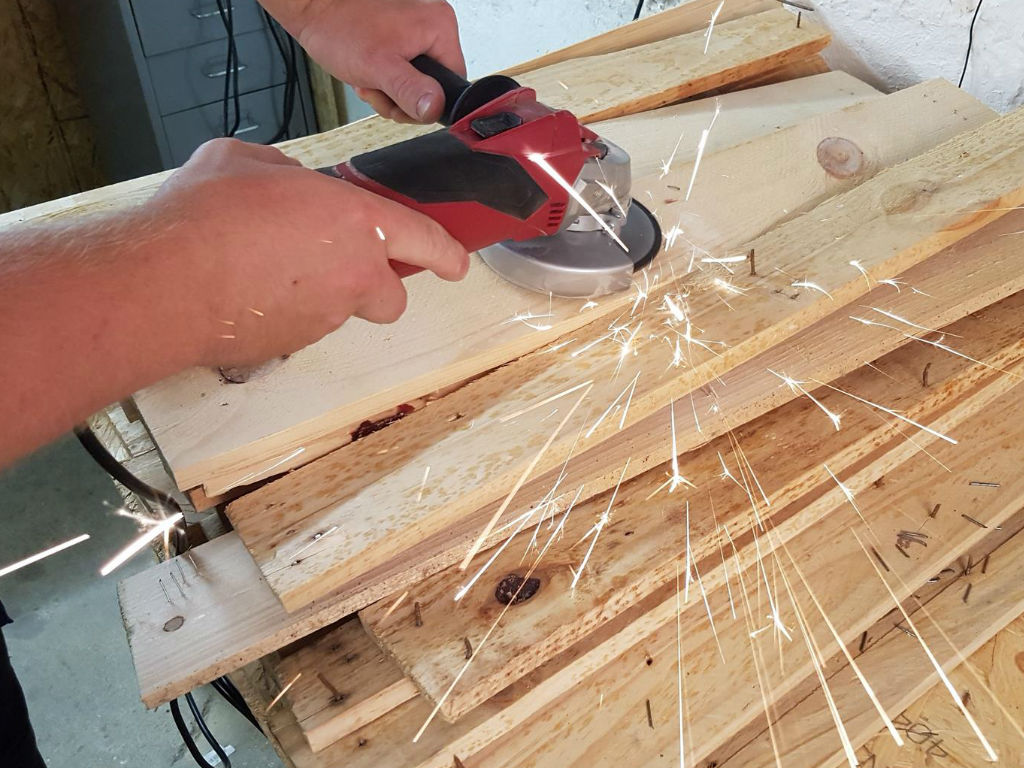
After disassembling the pallets, I removed the nails with the angle grinder. For visual reasons I keep the heads of the nails in the wood.
Attention: While sawing the planks, I now had to take care that the nails didn´t touch the saw blade.
Step 2: Marking and sawing
First of all, I have created my own plans:
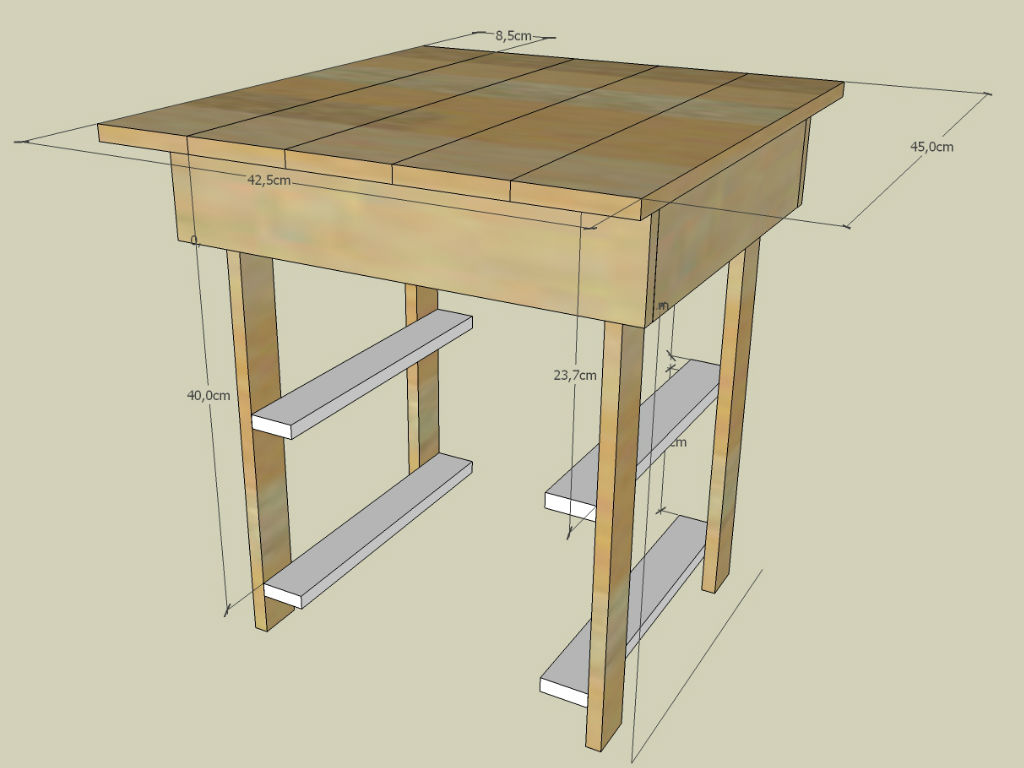
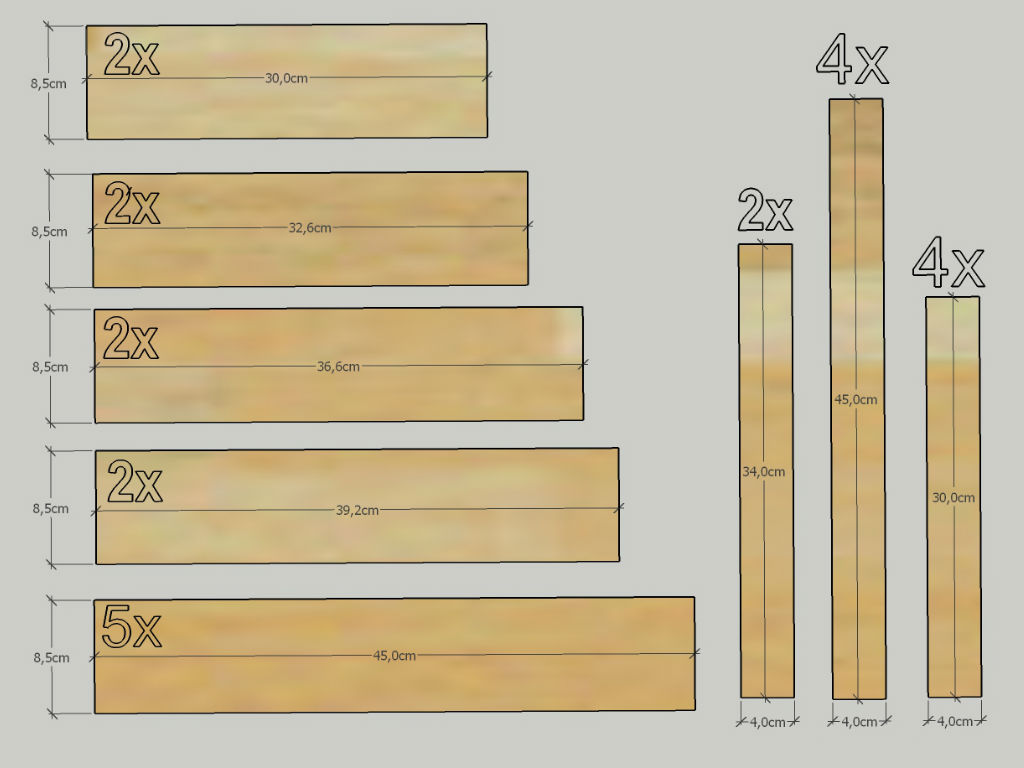
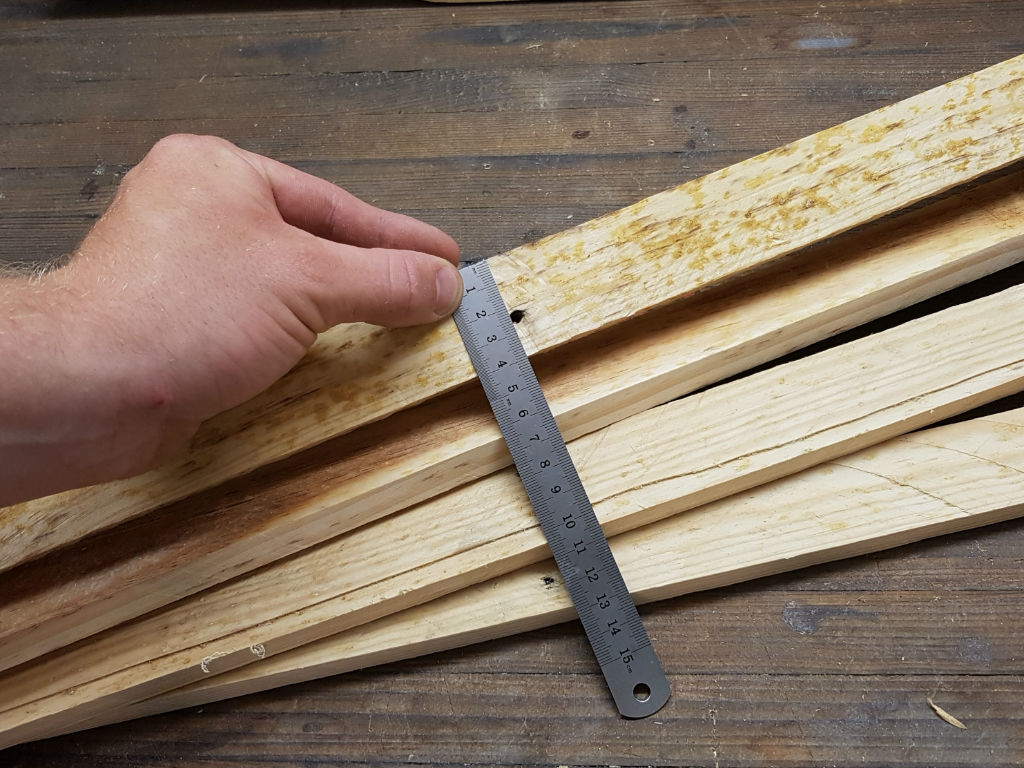
At the beginning I had to cut the 5 boards into 4cm wide strips. The best way of doing this is by using a circular saw. (a jigsaw / handsaw can be also used) It´s also no problem if the boards aren´t exactly 4cm wide.
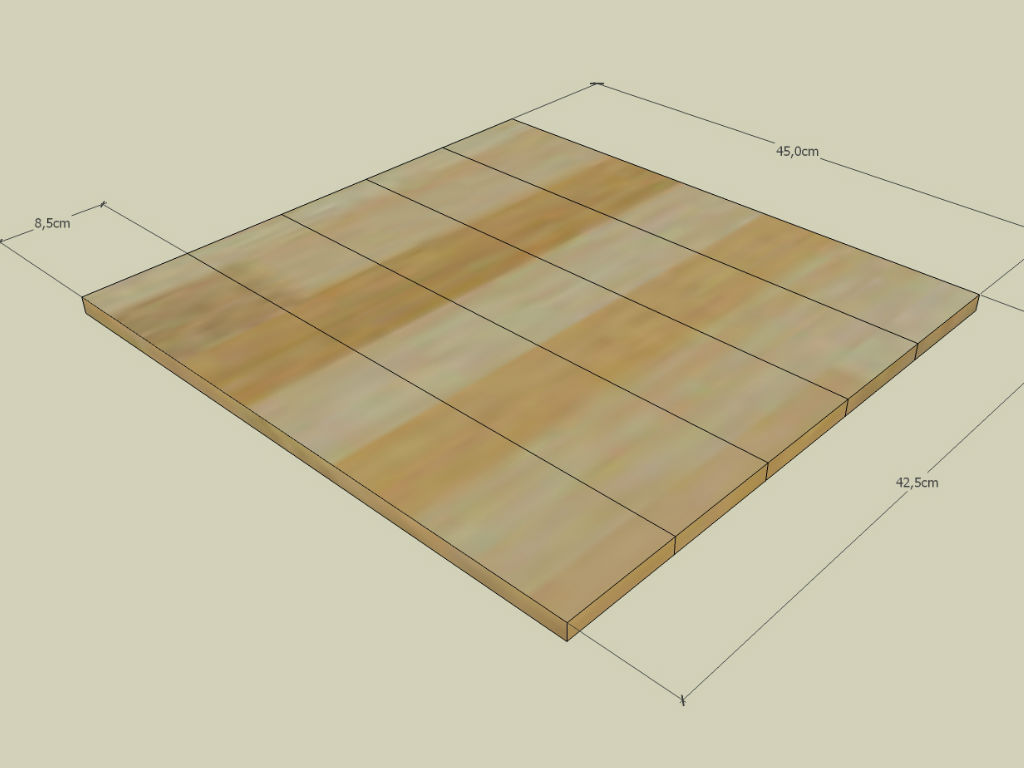
Then I have trimmed the strips to the lengths 4x 30cm, 2x 34cm, 4x45cm. The boards for the side parts have now the measurements: 2x 30cm, 2x 32,6cm, 2x 36,6cm, 2x 39,2cm. Finally, I shortened the 5 boards for the table top to 45cm. After finishing this step, I now moved on to grinding.
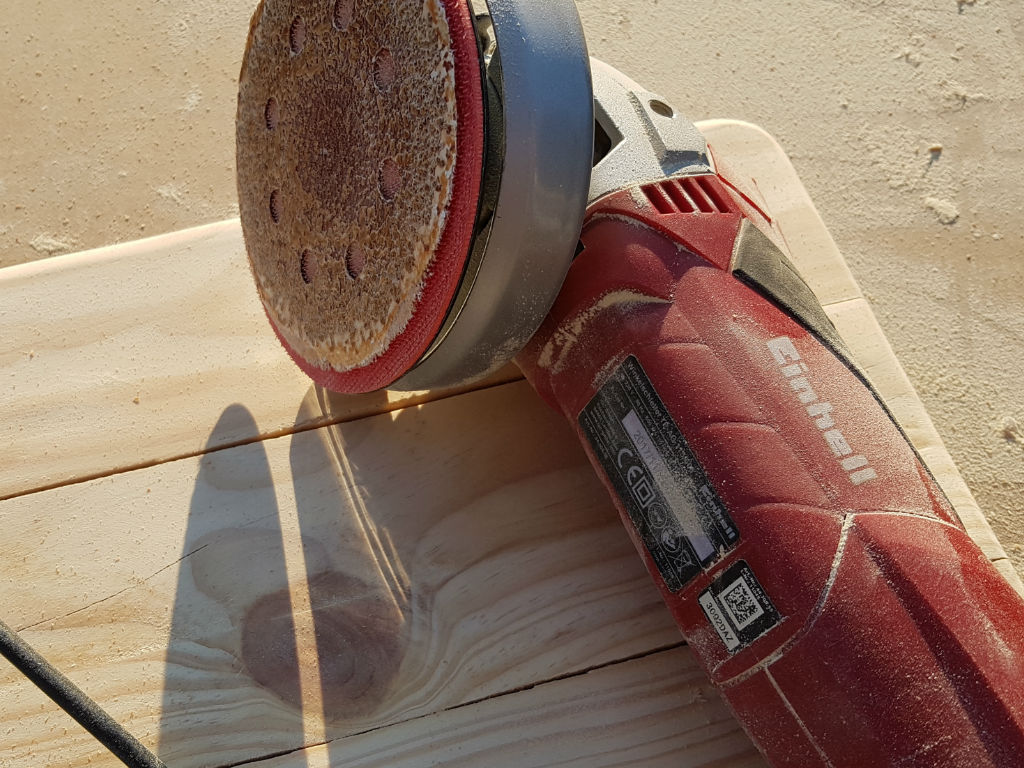
Step 3: Grinding with the angle grinder
In the first instance I worked the boards with the angle grinder.
After that I grinded them with a grinding disc and a 60 grit sandpaper. For the next step I removed the resin and coarse contaminants and rounded off the edges of the legs. Afterwards I covered the wood with higher corned abrasive paper (number 120, 240) to create a smooth surface.
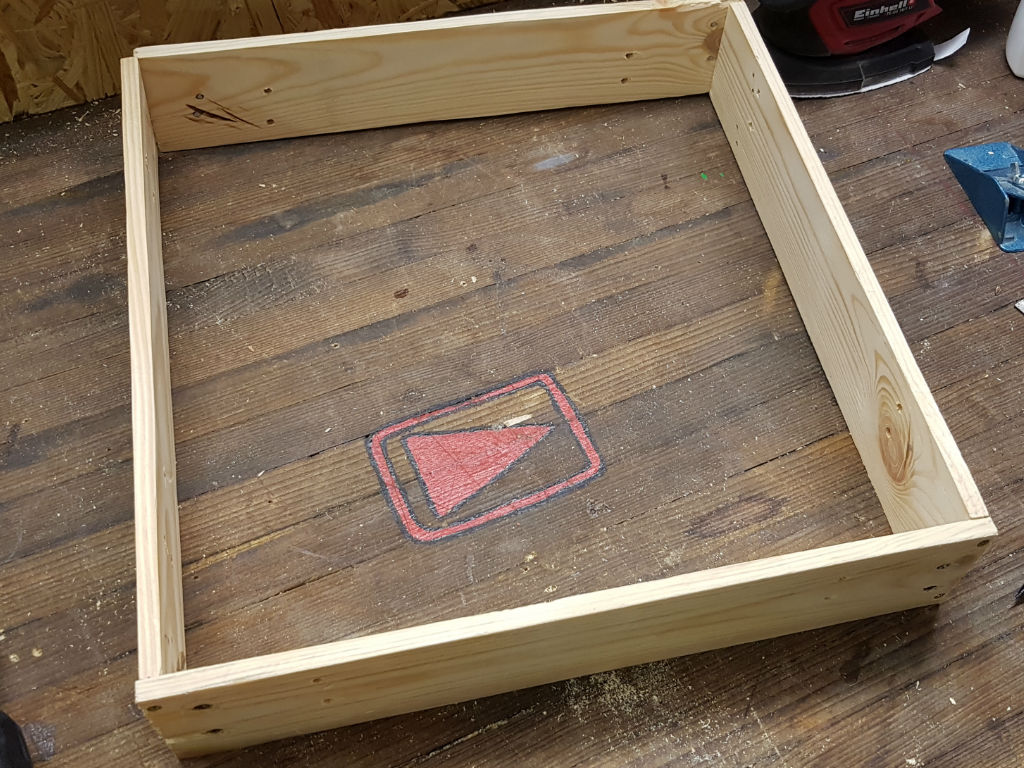
Step 4: The marriage
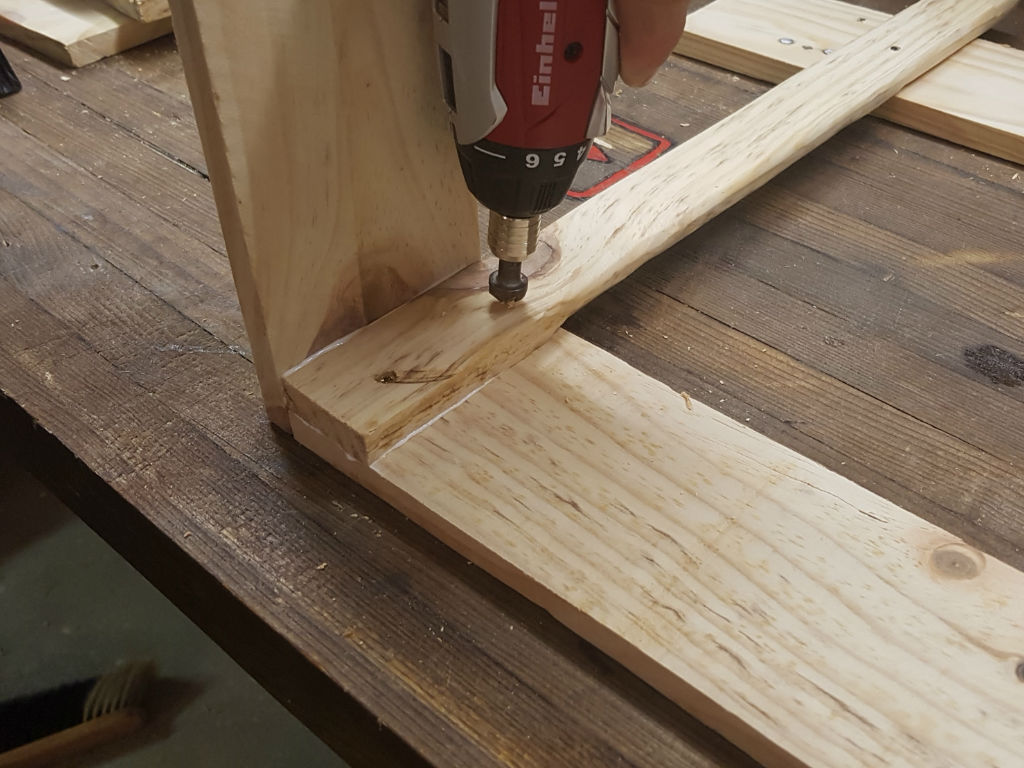
Now let´s start with the assembly! Before I started: I pre-drilled all the holes with a 2mm drill and sunk the holes with a countersunk head driller so that the screw heads were on the same level with the wood.
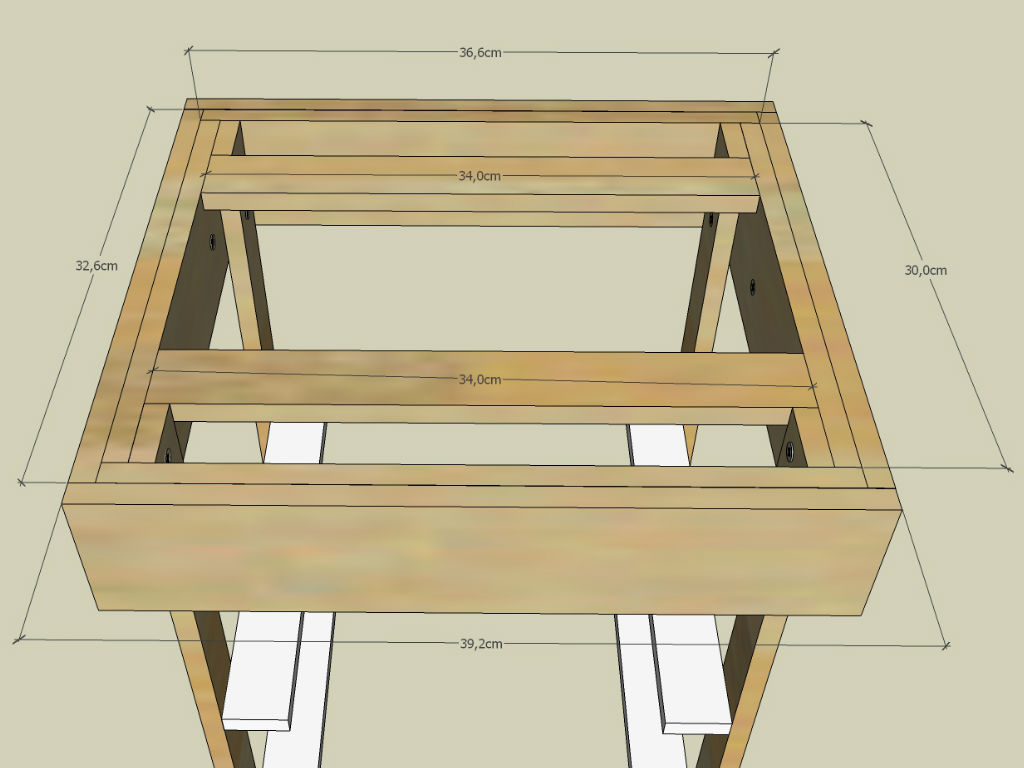
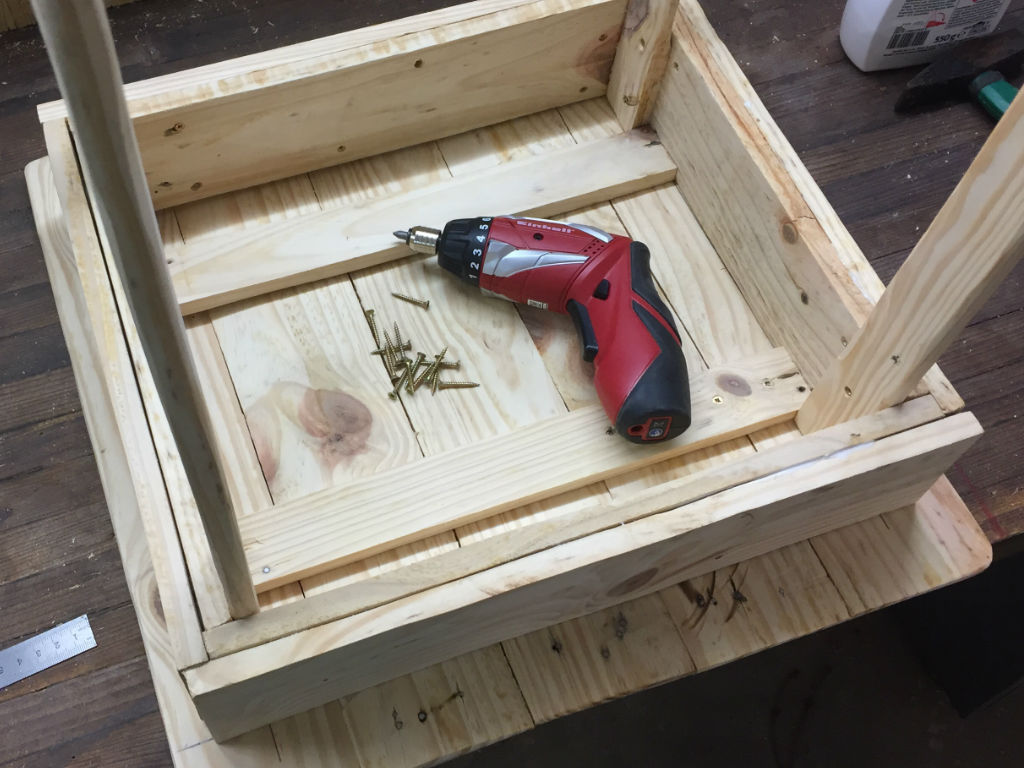
For the penultimate step I have combined the 2x 30cm boards and the 2x 36,6cm boards to create a rectangle and fixed it with 3x 25mm screws on the edges. Next I screwed the legs from the inside with two 2x 25mm screws and some wood glue on the 30cm pieces.
After that I screwed the 2x 32,6cm and the 2x 39,2cm boards with wood glue and 3x 25mm screws also on the inside. In the next phase I grinded the edges of the new built body with the angle grinder.
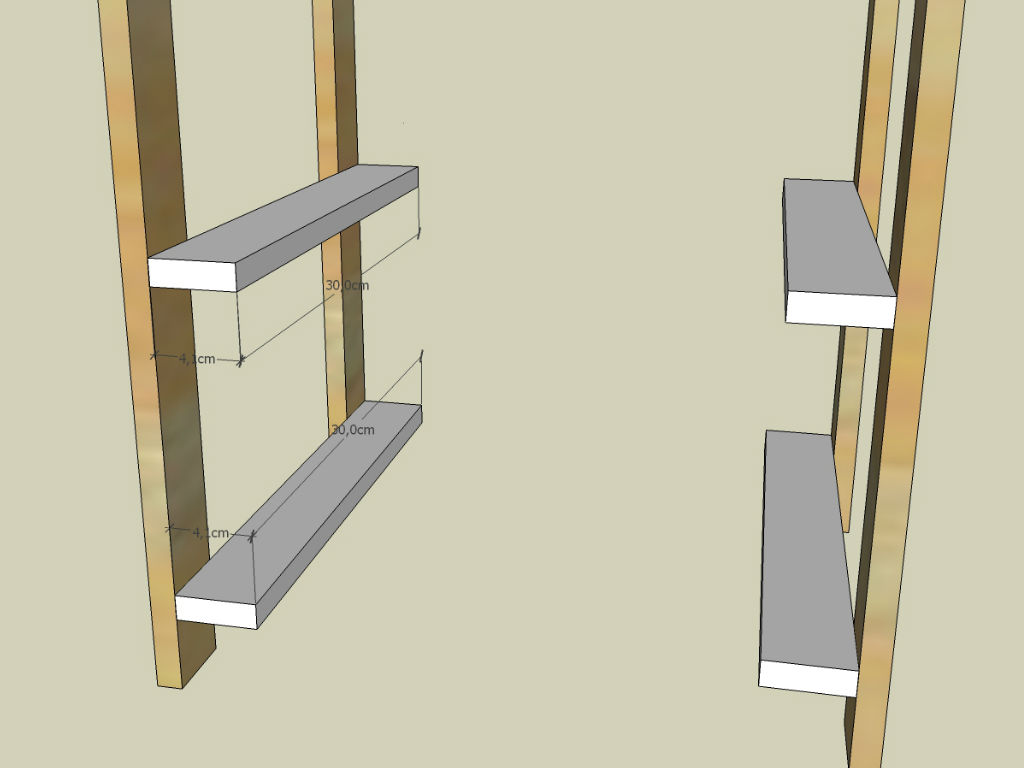
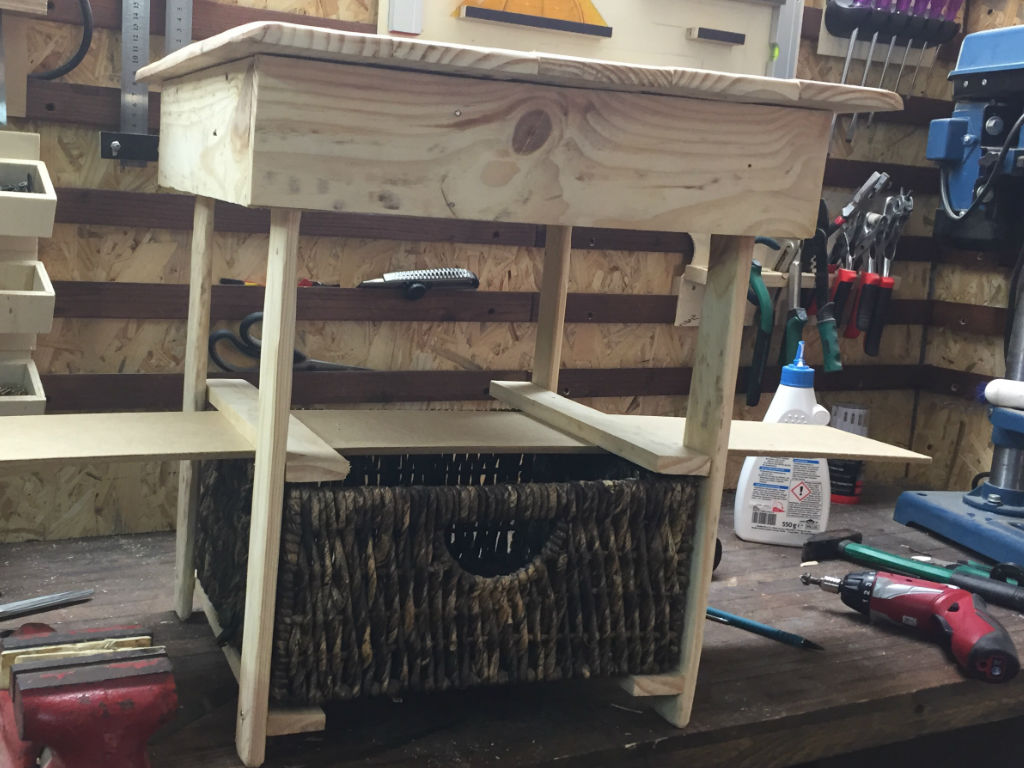
Afterwards I fixed both strips (4x34cm) for the table surface from the outside with two nails. Finally, I placed the wooden pieces with the bottom downwards and secured the strips with 3x 25mm screws. For the baskets I have fixed the guide rails on the legs with two 3x 35mm screws each. (It depends on the height of your baskets at which distance you attach the strips.)
Step 5: The Finish
For the last step I´ve applied spar varnish on the side table, which doesn´t only keep the wood from weathering but also makes the wood darker. This gives the piece of furniture a rustic touch and now your self-made table transforms every room in a feel-good ambience.