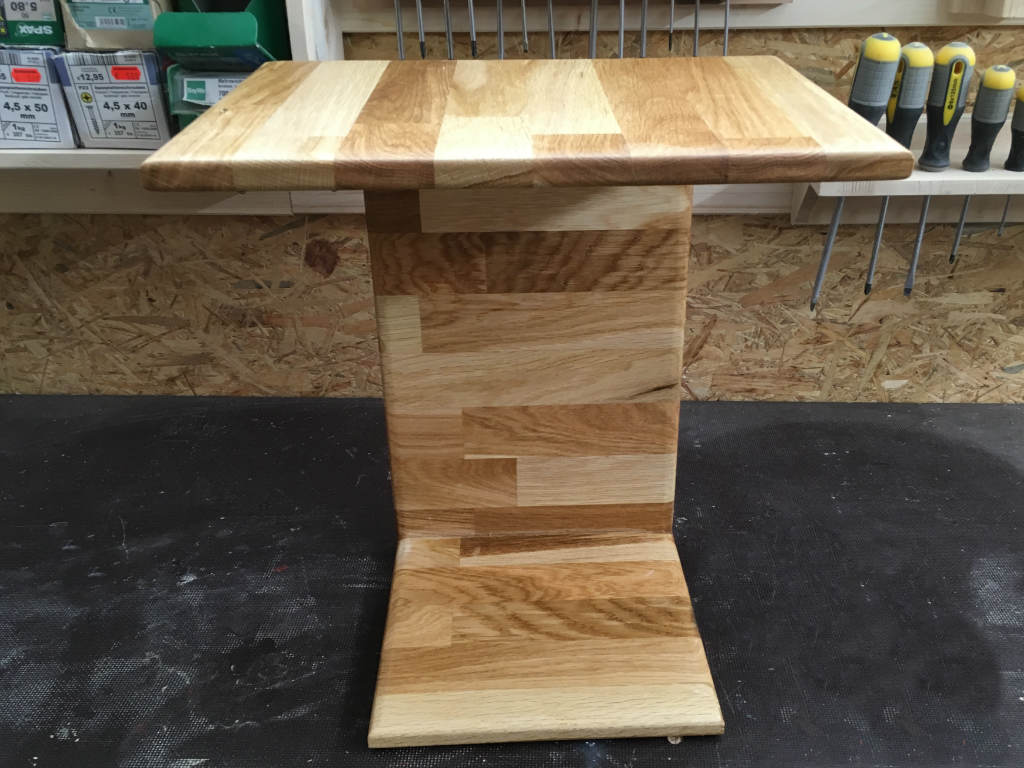
DIY: Space-saving side table
A small side table, which adapts perfectly with your couch? This smart home decor for the living room is just as practical as it is stylish: a small table that you can easily slip under your couch. So you save space and still have an ideal storage place for glasses, magazines or snacks for the perfect TV-evening.
How you can build this DIY wooden coffee table in 3 simple and inexpensive steps, you will learn in this manual:
| Material | Tools |
|---|---|
| Screws 3x16 | Mitre saw |
| Abrasive 80,120,240,320 | Steel square |
| Worktop oil (food-safe) | Cordless screw driver |
| Corner profile 3cm x 2cm | Grinder |
| Felt pad | Clamps |
| Glued laminated timber (oak) 800x400x18 | Cordless drill |
| Wall plugs | Countersink drill |
| Glue |
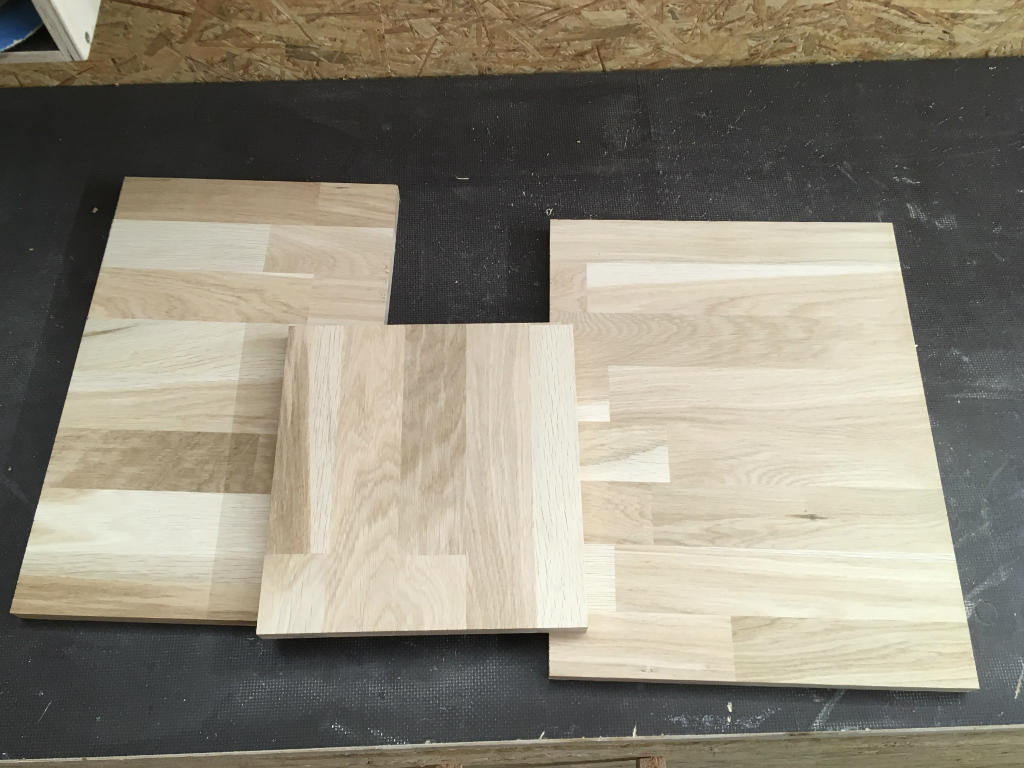
Step 1: The cutting
From our glued laminated timber panel (800 x 400) you first saw out the three components, with the following dimensions: 30cm x 39,5; 23,5 cm x 25 cm and 39,5cm x 25 cm.
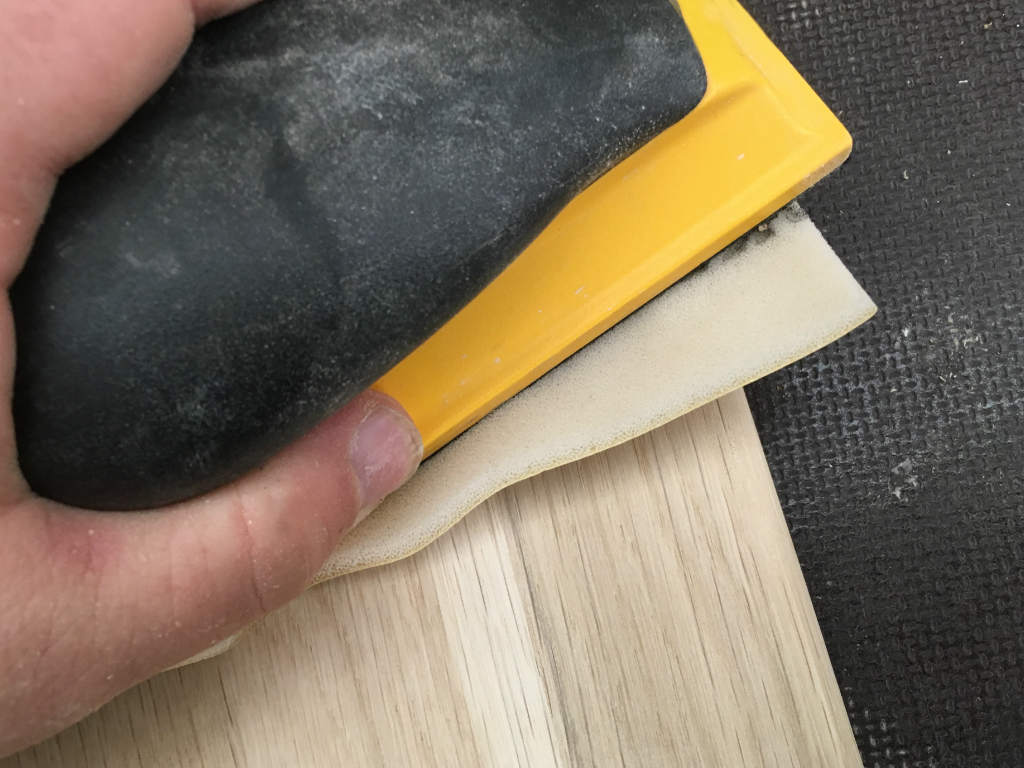
Now that you've sawn out everything, you should at best saw off all around a chamfer or rounding. Either with the router, with the planer or simply with an abrasive.

After that is done, you can start grinding everything, here you just work your way up from 80 to 320 grit.
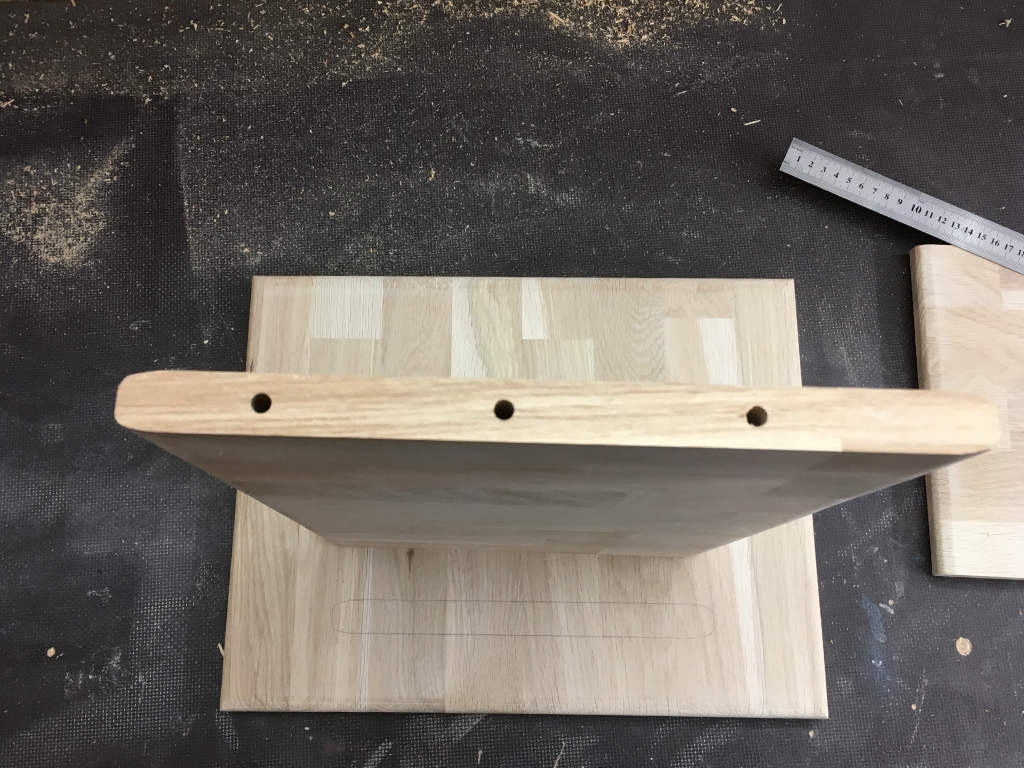
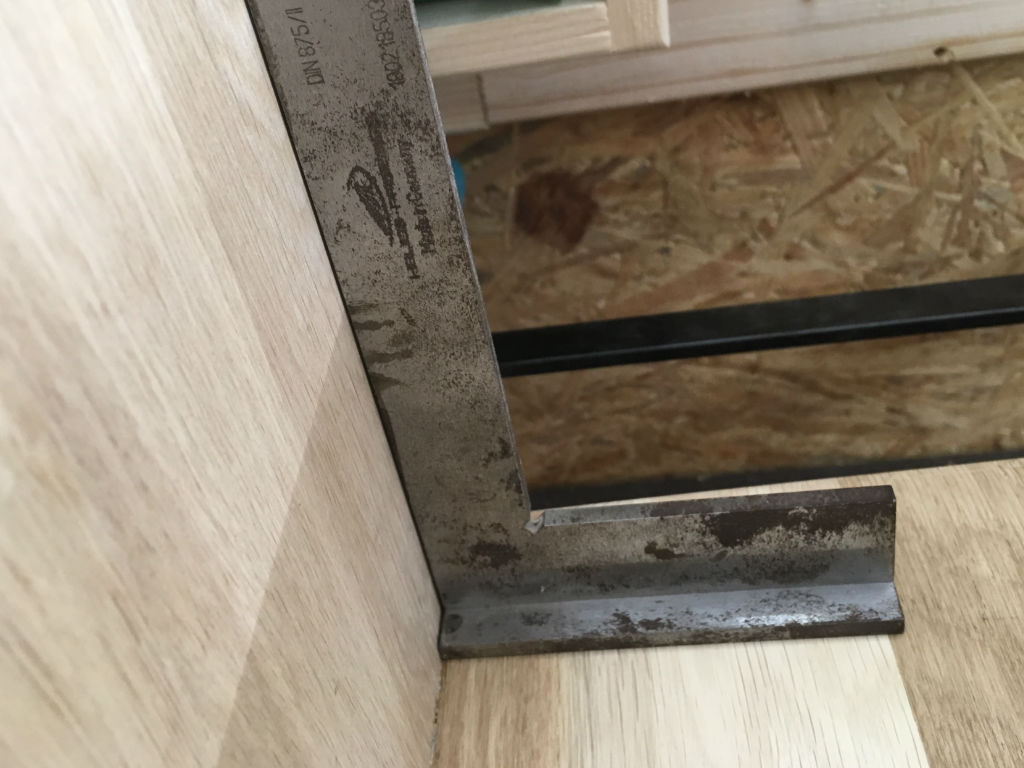
Next comes the part in which the highest accuracy is needed, you position the dowels for the feet and the table top. For this you measure out 3 positions and then drill them. After that you can put everything together without glue, so you can check if everything fits as intended.

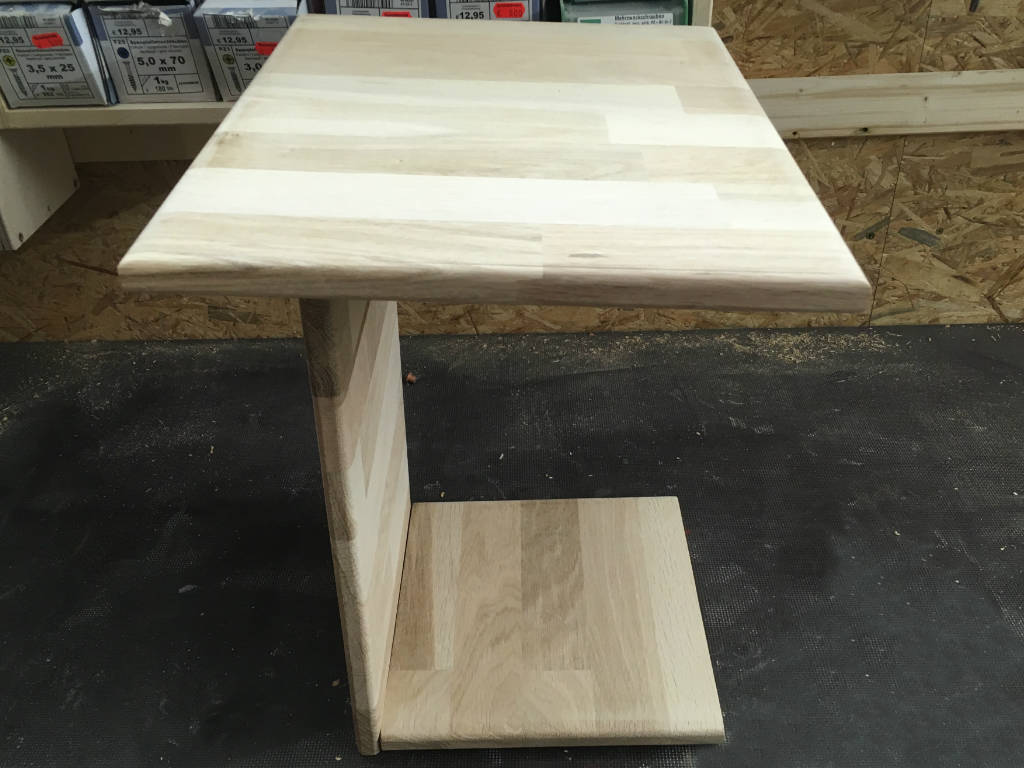
Step 2: The assembly
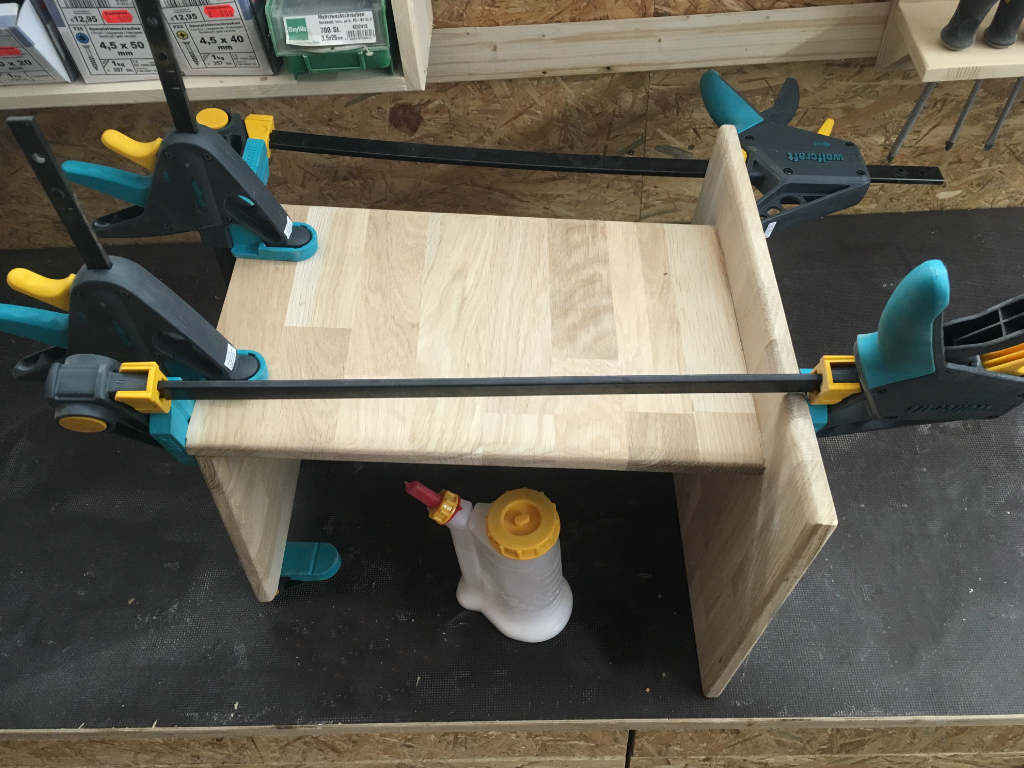
After making sure everything is in place (check angles, with the steel square as well), you can now glue all the parts together. I recommend to use clamps here, so that nothing moves while drying.
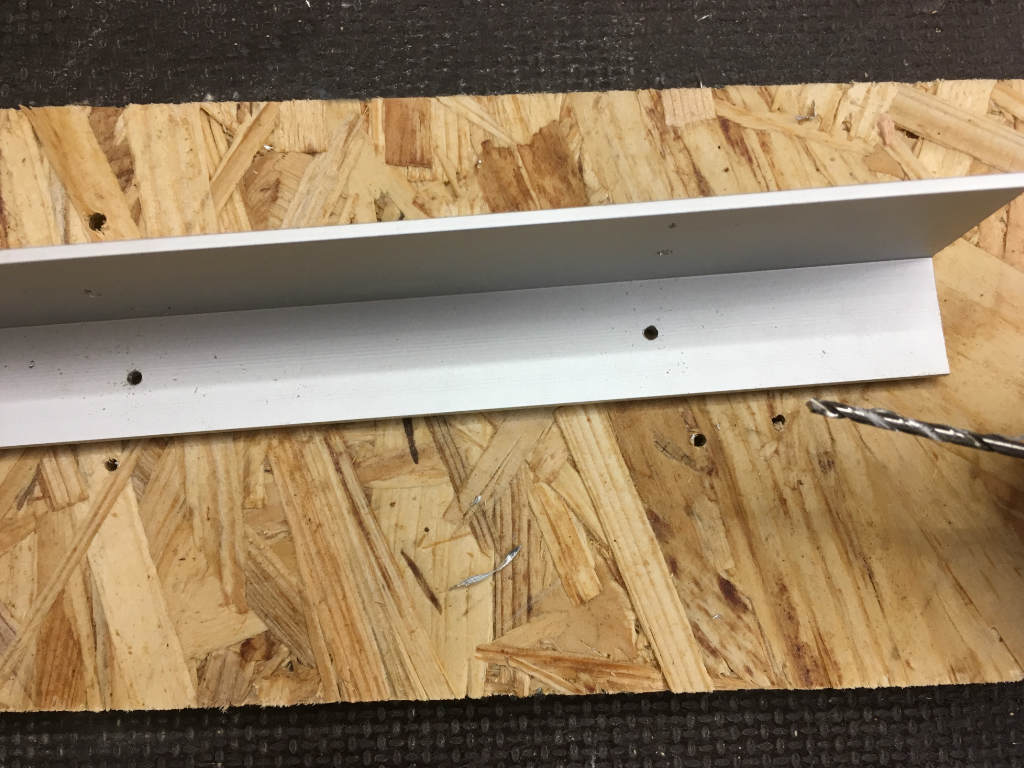
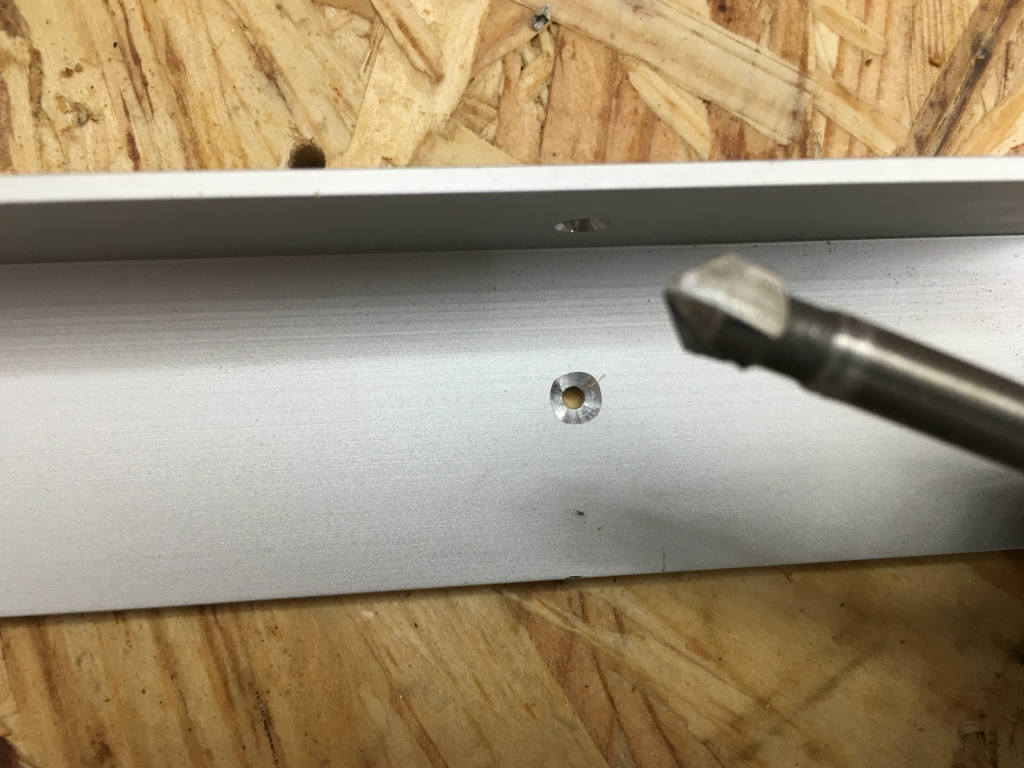
In order for your table to gain more stability, you can attach a corner profile under the table top. This you first need to cut to the needed length. After that you drill and counter bore the holes for the corner profile and mount it afterwards.
Step 3: The finishing touches
In the end, you sand the whole piece. After everything is beautifully supple we can go over to the best step of the project, WE OIL the workpiece.
For this final step I recommend you to use a food‐safe oil.
Congratulations, you just built yourself a designer oak side table!